My son Alex is getting married in a couple of weeks to an incredibly lovely girl, and they’ve asked to have the reception in our backyard. The problem is … our backyard isn’t near as lovely as the young woman Alex is marrying.
Let me (partially) correct that — HALF of the backyard is great. The other half is a barren wasteland of tumbleweeds, dirt, rocks, and a trampoline that’s seen better days. Yes, the barren portion is in the back corner of the yard, but it’s still painfully visible no matter what. Someday, when I win the lottery or happen to find a hundred grand lying on the sidewalk, we’re going to turn the barren wasteland into a swimming pool, sport court, and all-out party zone. But for now, it remains a barren wasteland.

The finished part of the backyard
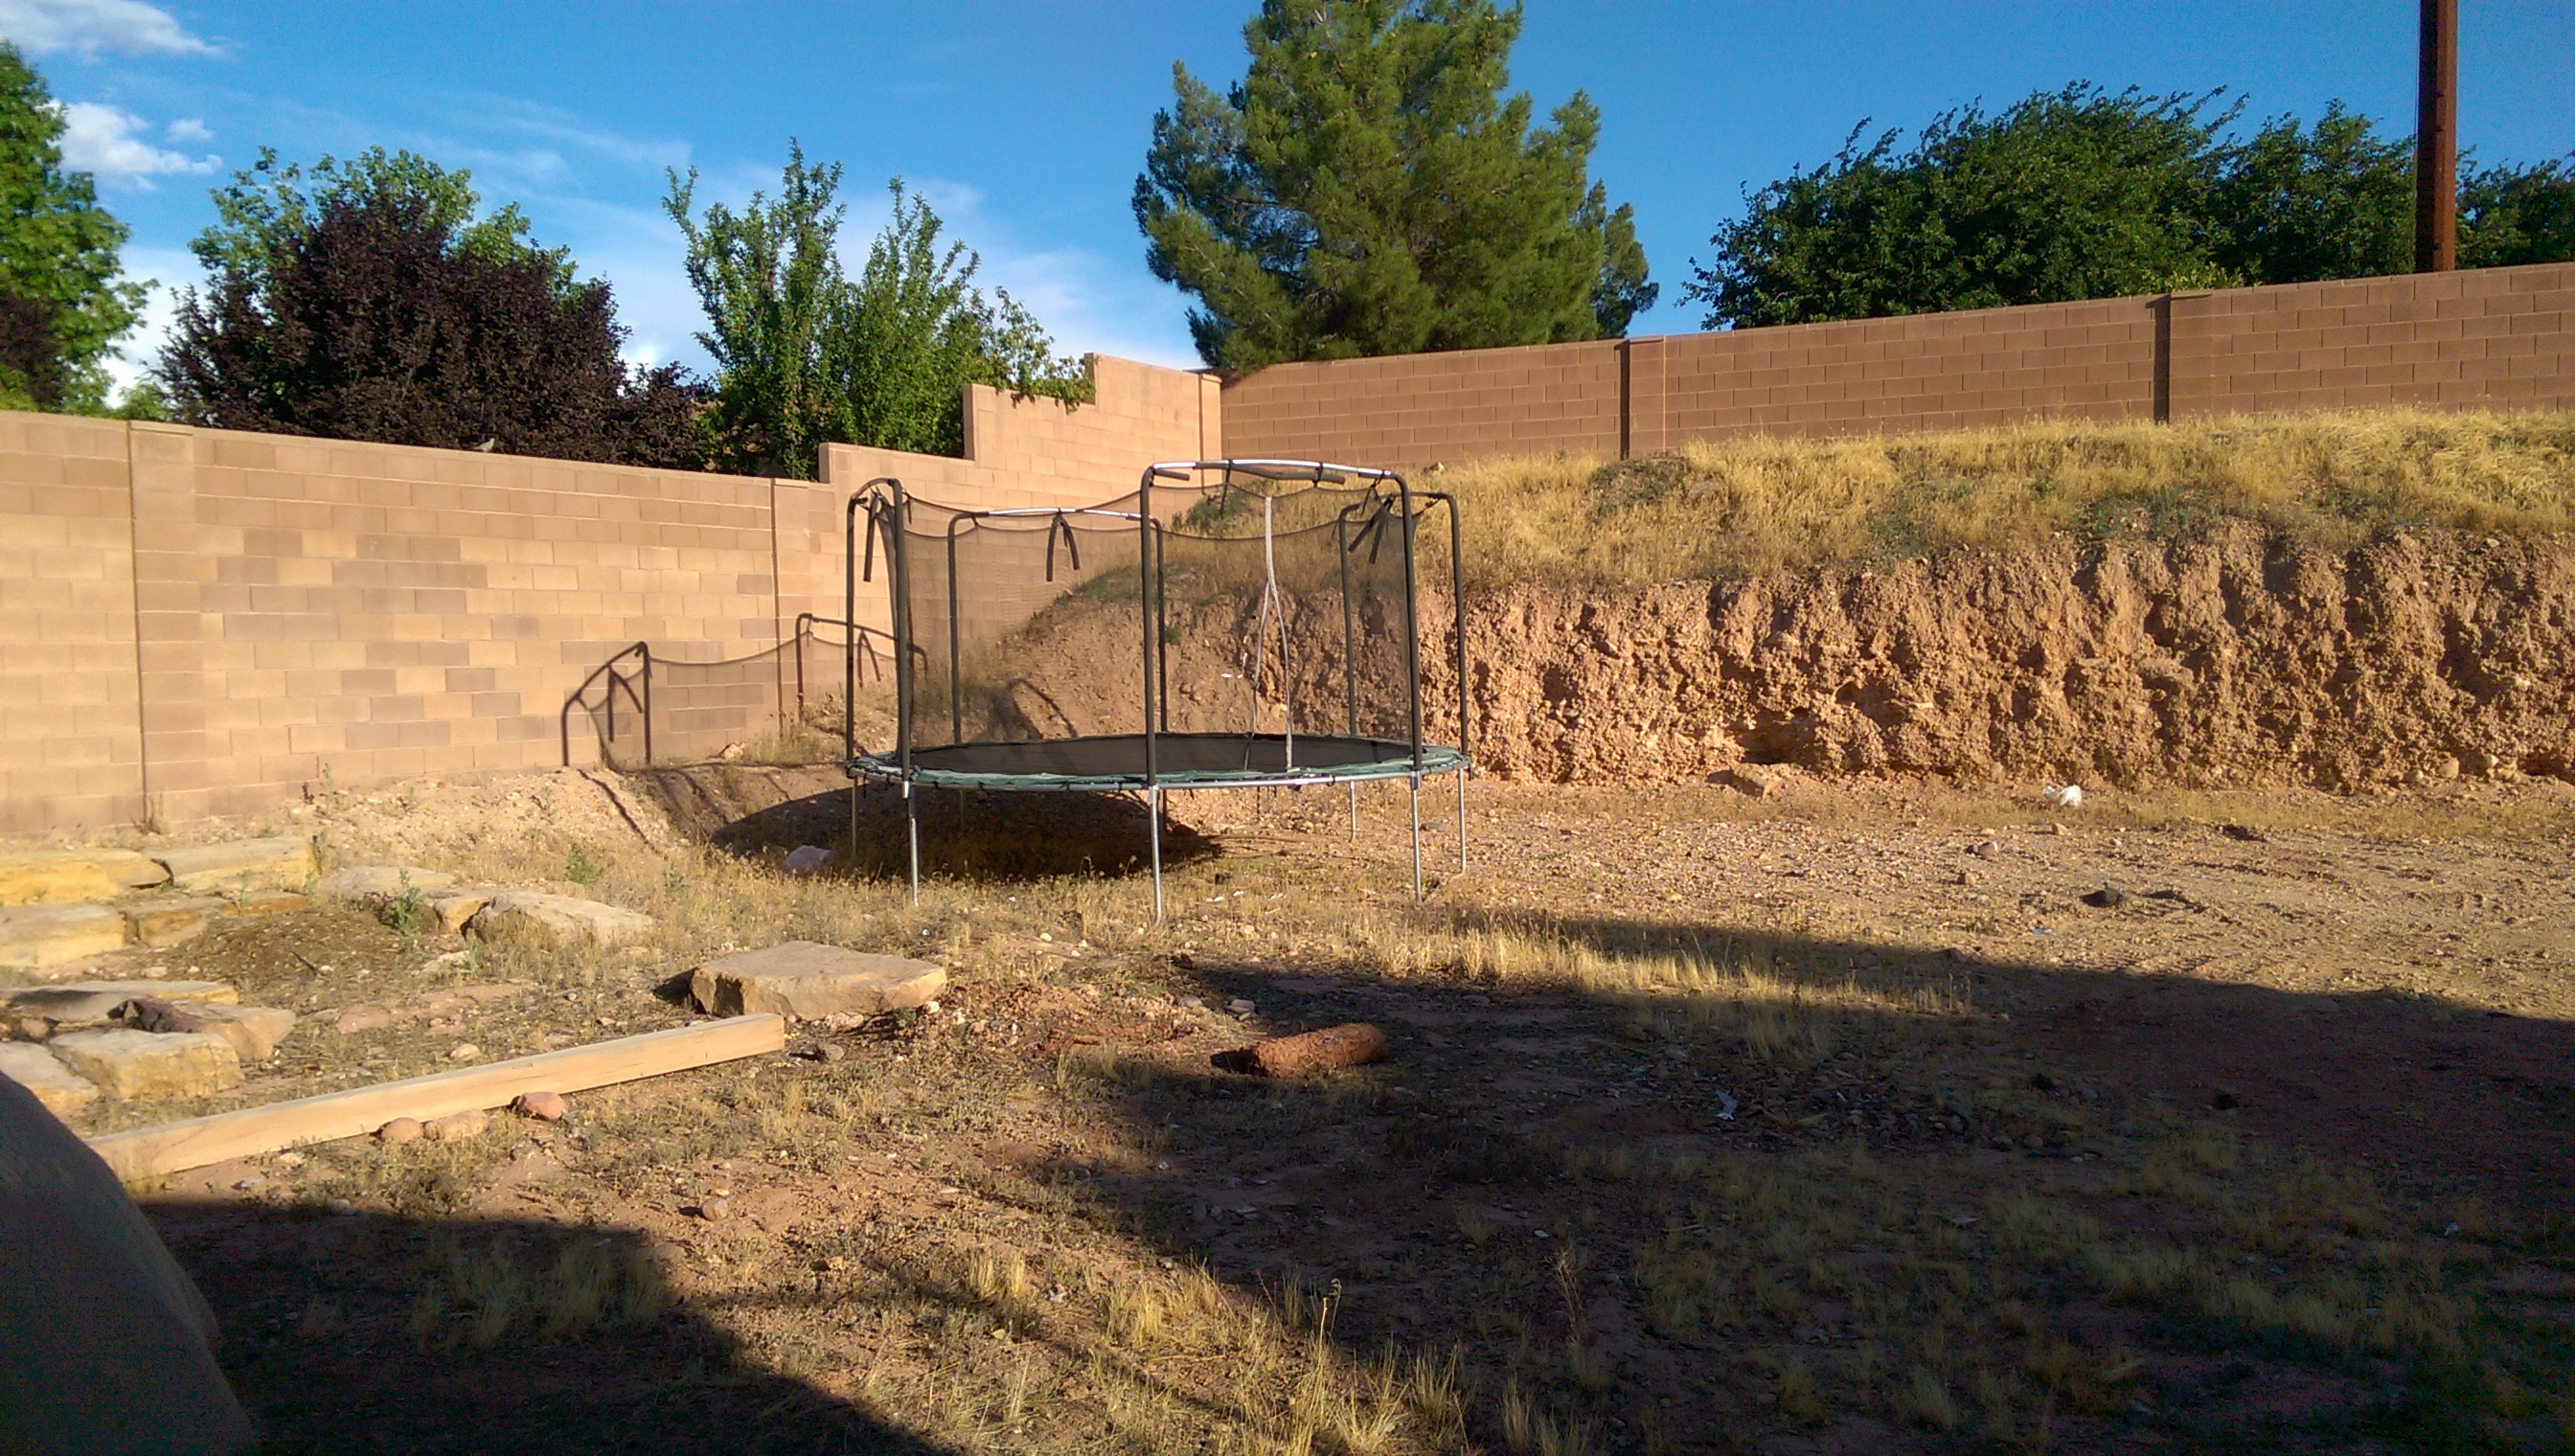
The barren back corner of the yard. Lovely for a wedding reception, right?
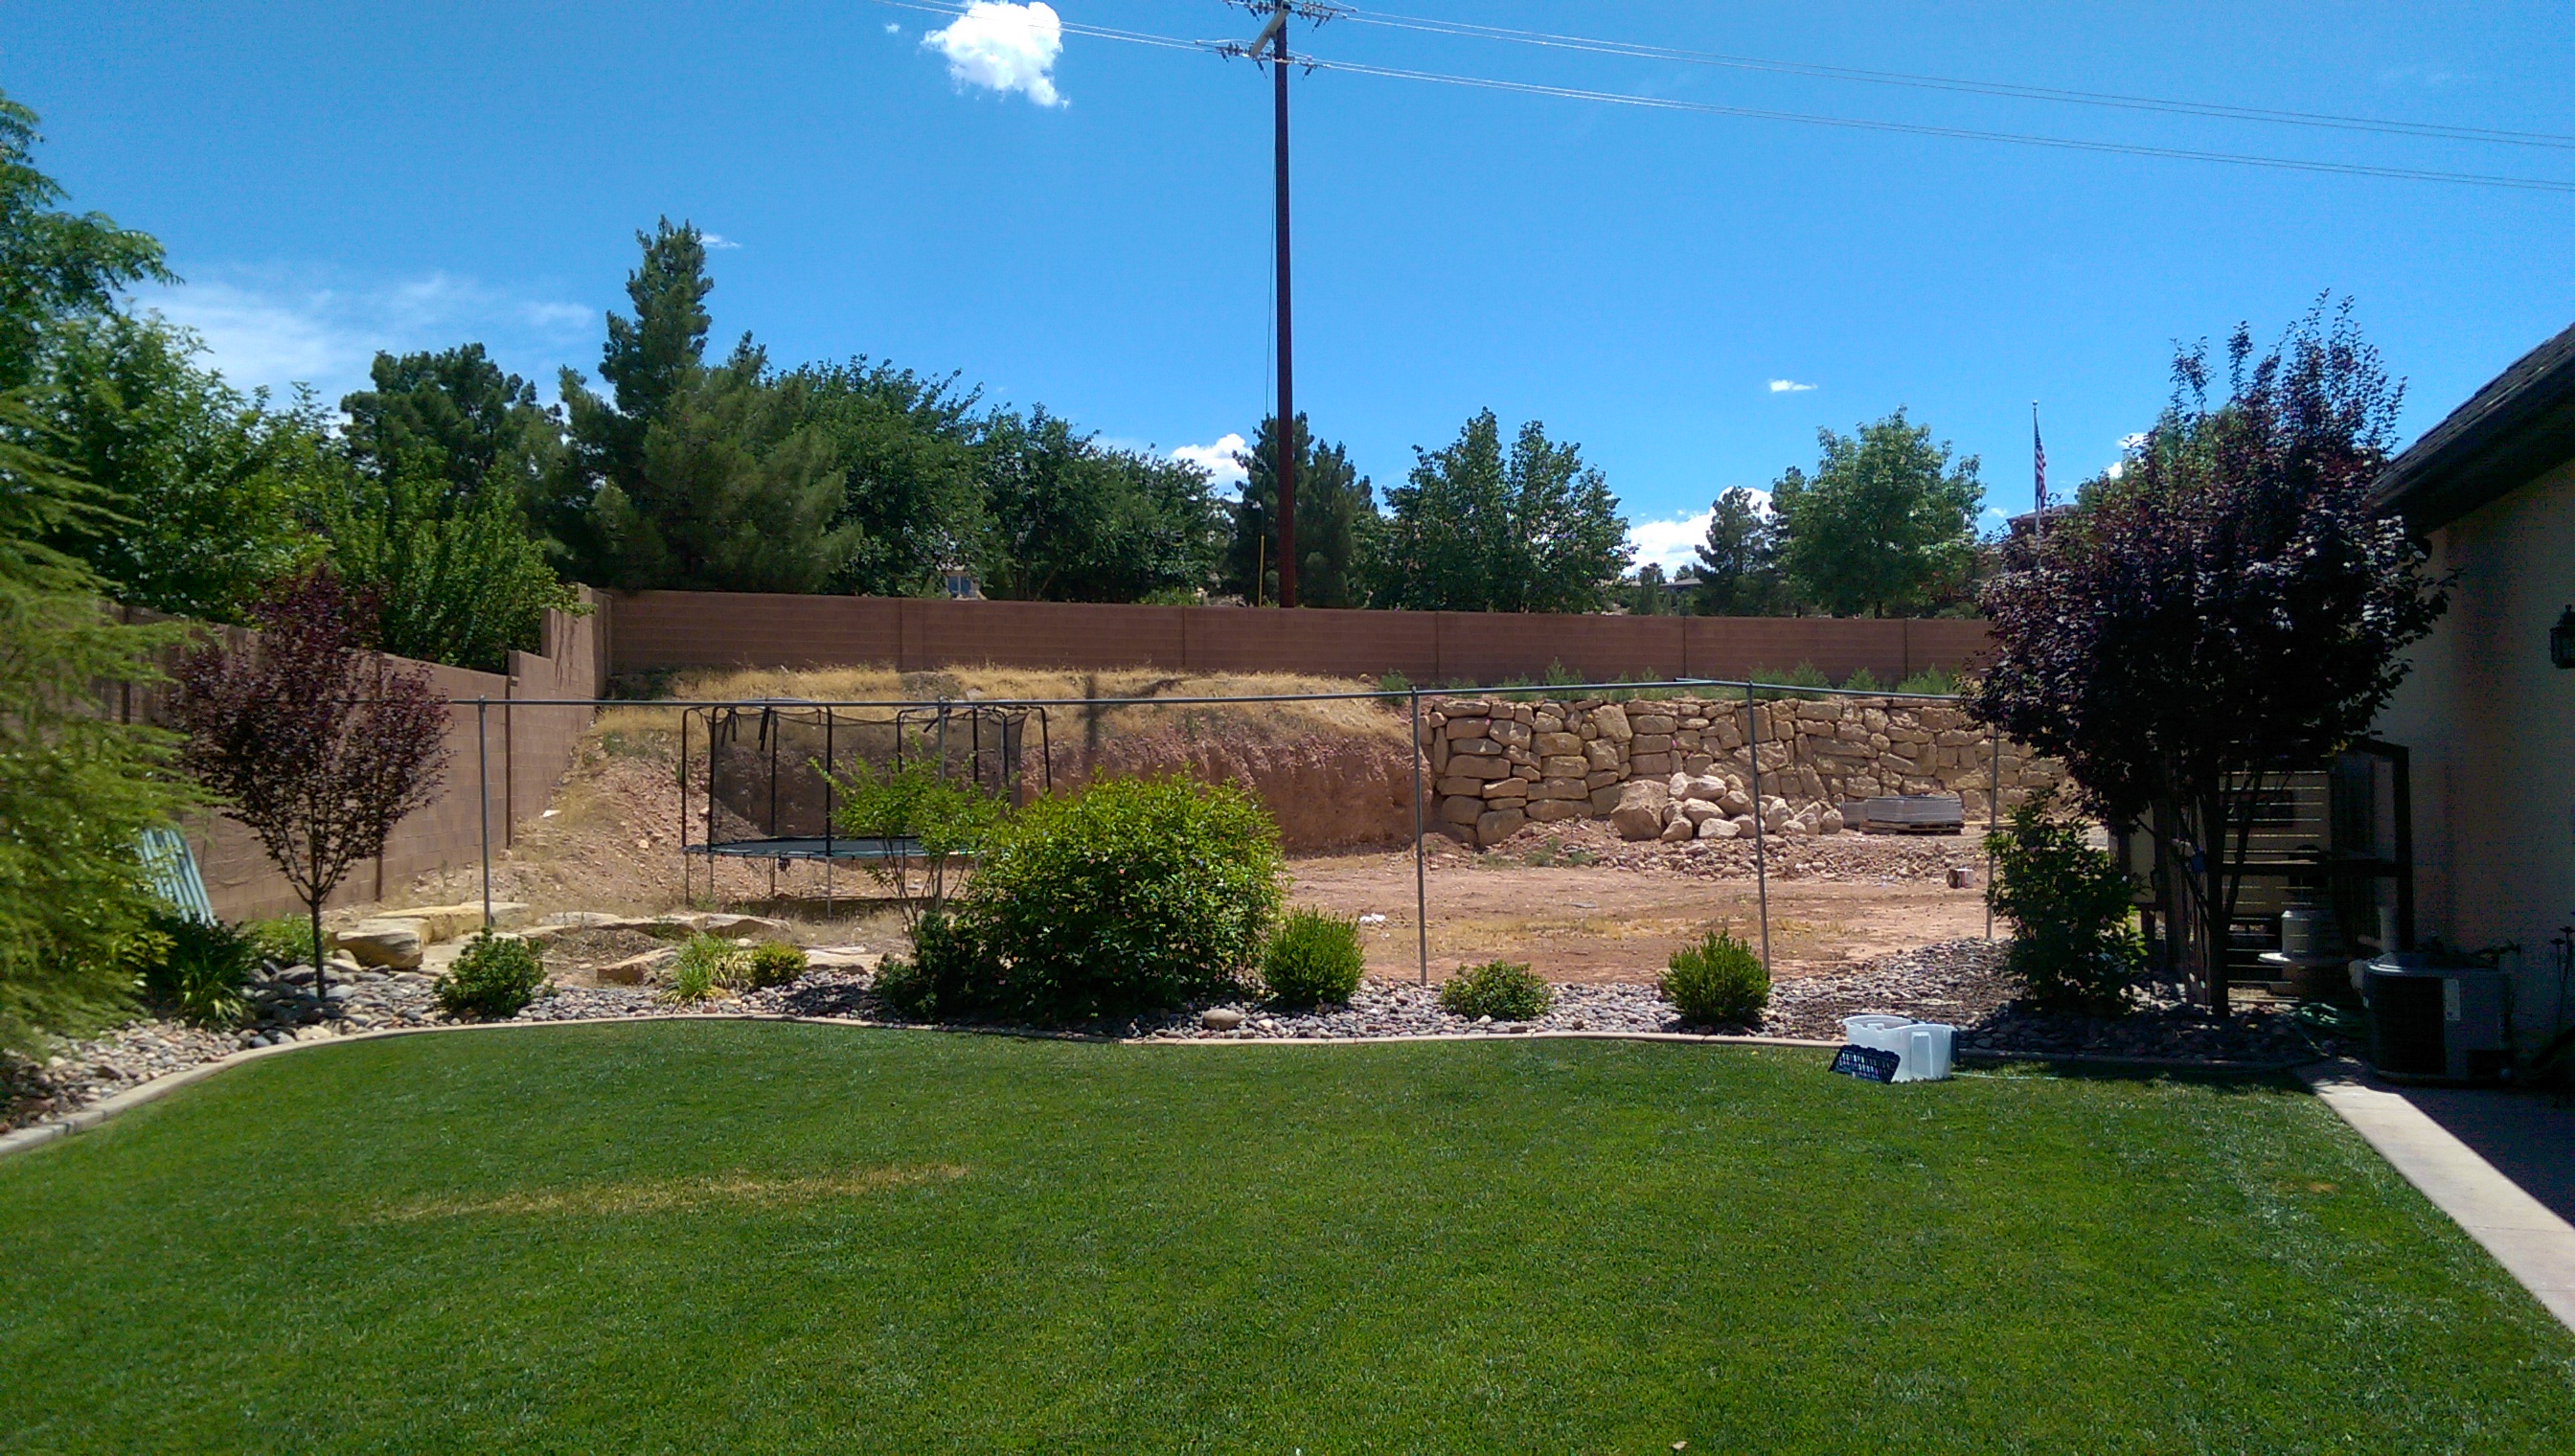
Where the loveliness ends and the wasteland begins
So . . . what to do?? I racked my brain for weeks trying to figure out how to hide this ugly part of the backyard, without having to panhandle in order to finish the property. I finally came up with a vision for a burlap screen backdrop wall that I thought would be fantastic, but of course, my dear hubby wasn’t sure about. Mainly because it required him to do some work. But guess what? Tough luck. Work you will, young Jedi.
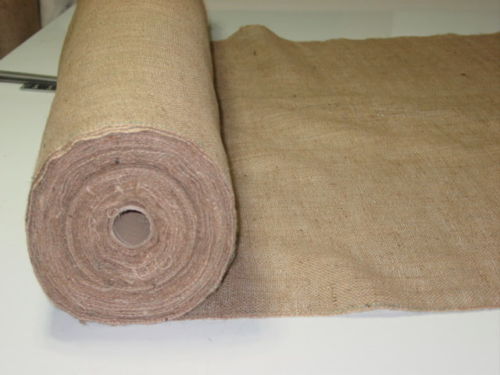
By the way, you could use ANY type of fabric for this, based on the event and color-scheme. Basic canvas would be another neutral option, or you could even use a colorful satin if you wanted. We opted for burlap since the wedding décor was already going to incorporate burlap and other natural elements.
My original thought was to create a structure that would stretch across the entire 60-foot wide space, separating where the landscape ends and the dirt lot begins. I wanted it to be 10 feet tall, gathered, and on a PVC pipe structure that would all fit together with basic PVC joint pieces. My husband Scott said that was fine, but he’d rather build it out of metal. Because basically, PVC pipe wasn’t manly enough. He really only likes projects that require metal, duct tape, baling wire, and other manly stuff like that. Unfortunately, metal was going to be pricey, so he went to see a guy he knows who sells scrap metal. Turns out that the guy offered to let us borrow the pieces of metal pipe we needed, so it didn’t cost us a thing for the pipe.
I went online and started looking for large quantities of burlap. I found that, as usual, the more you buy, the lower the price per yard. I was thrilled to find that I could purchase 100 yards of Burlap on eBay for about $200, including free shipping. The roll is 5 feet wide, and yes, long enough to run the entire length of a football field. I couldn’t believe how huge and heavy the roll was when it arrived, I could barely move it! It was like trying to wrestle a telephone pole. Not that I’ve ever done that, but I can only imagine it’s probably pretty similar.
It was time to start construction of the wall. Here are the steps we took to put it all together:
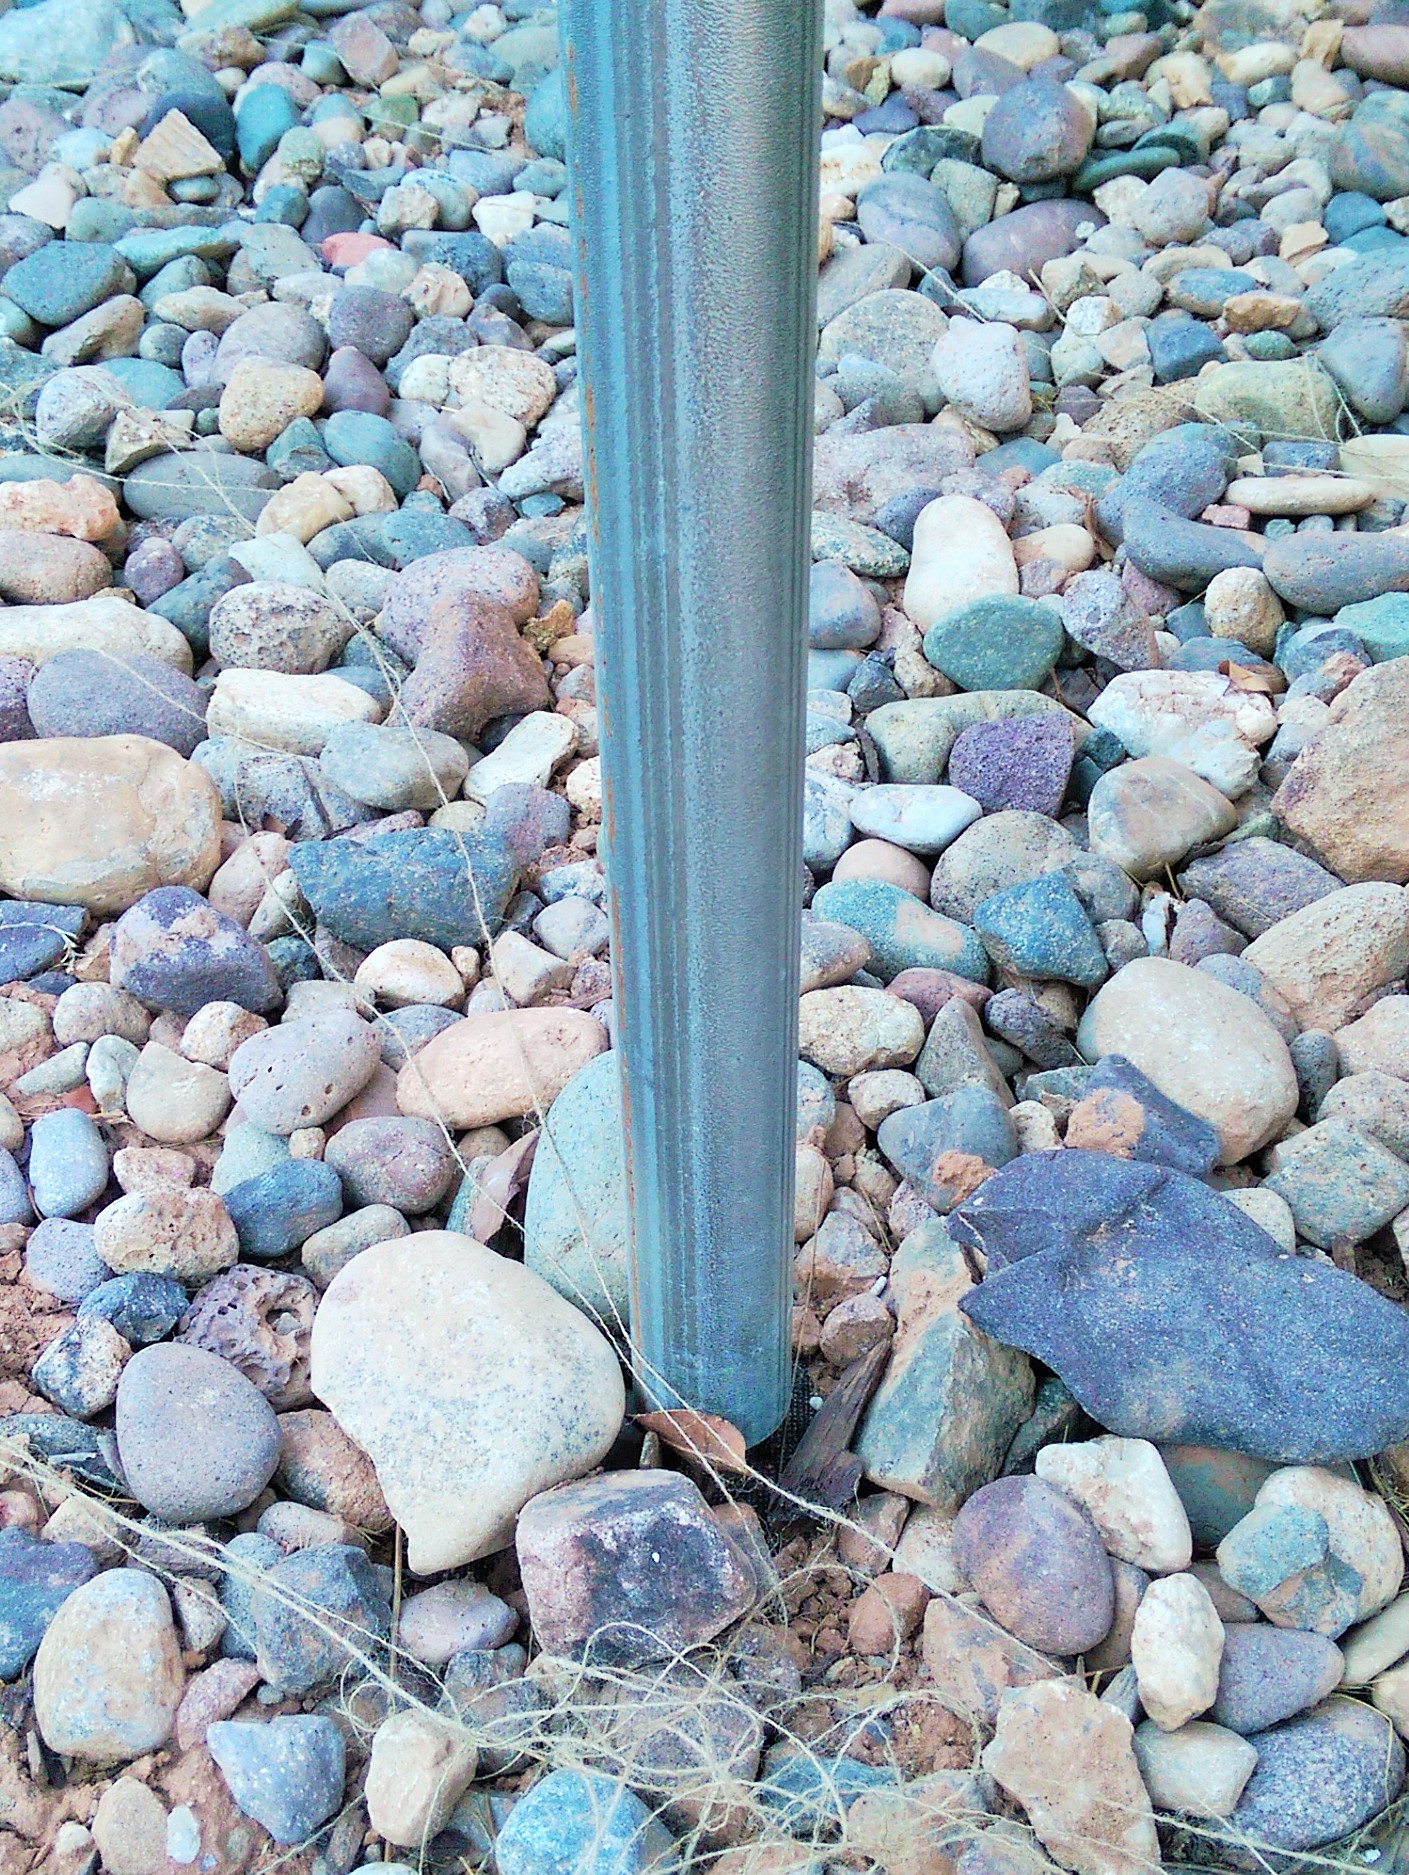
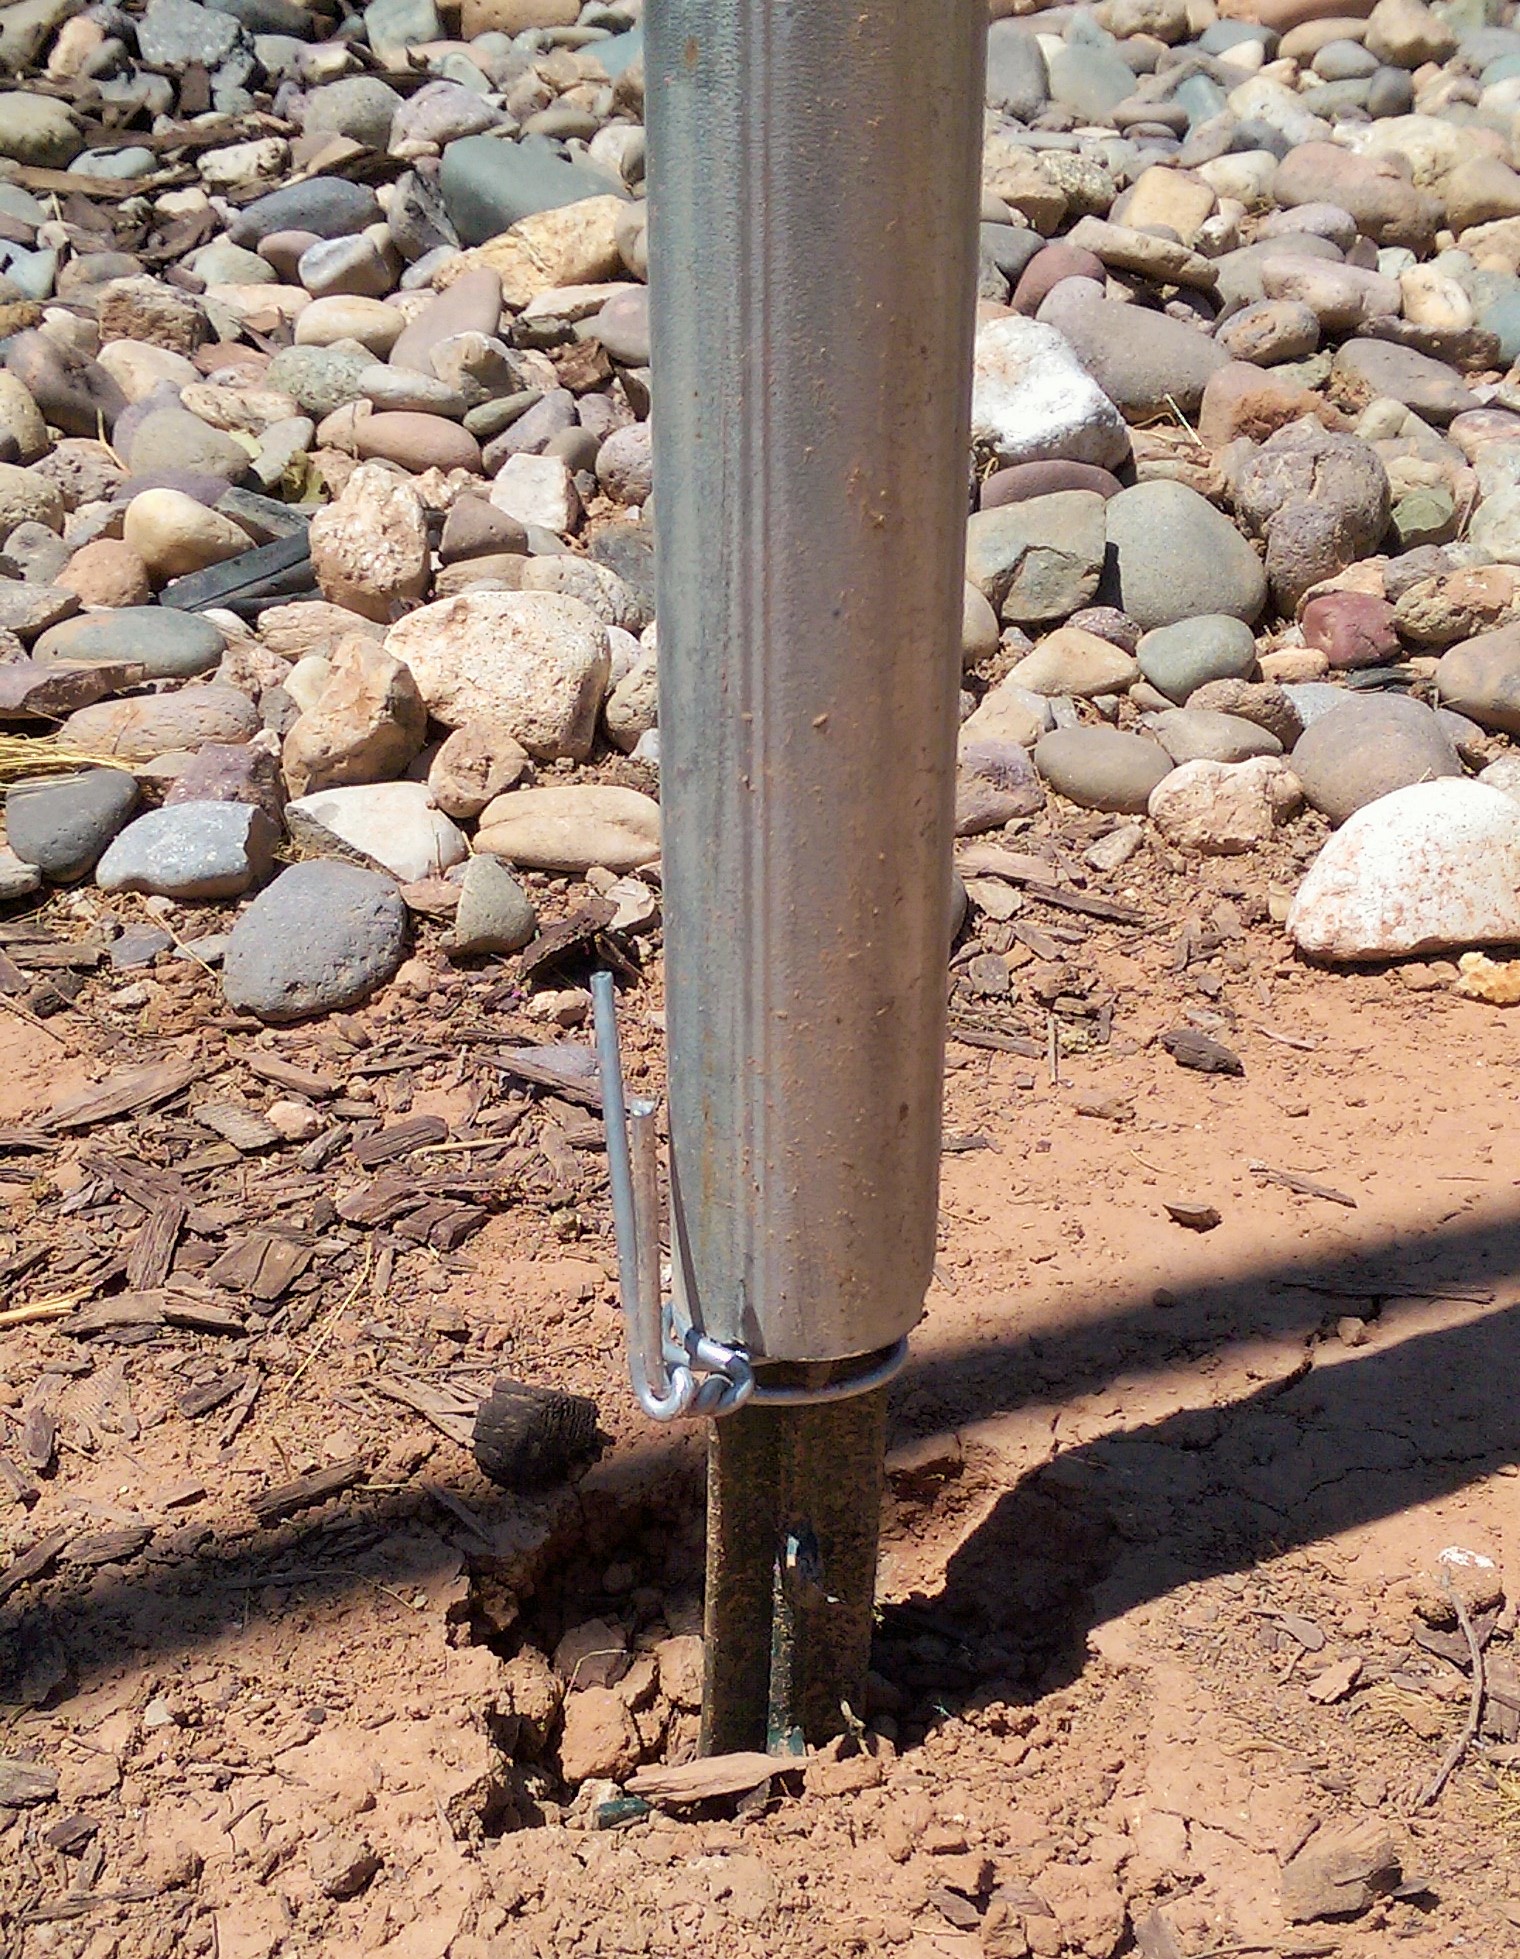
- Scott and Alex started out by using a post hole pounding tool to help drive standard (about 6-7 ft) green metal fence posts (also known as “T-posts”) into the ground, about a foot deep. Let’s just say, it wasn’t pretty. The ground is full of rocks, and neither one of them could even hold a fork for days afterward, they were so sore. But they eventually managed to get the posts in the ground.
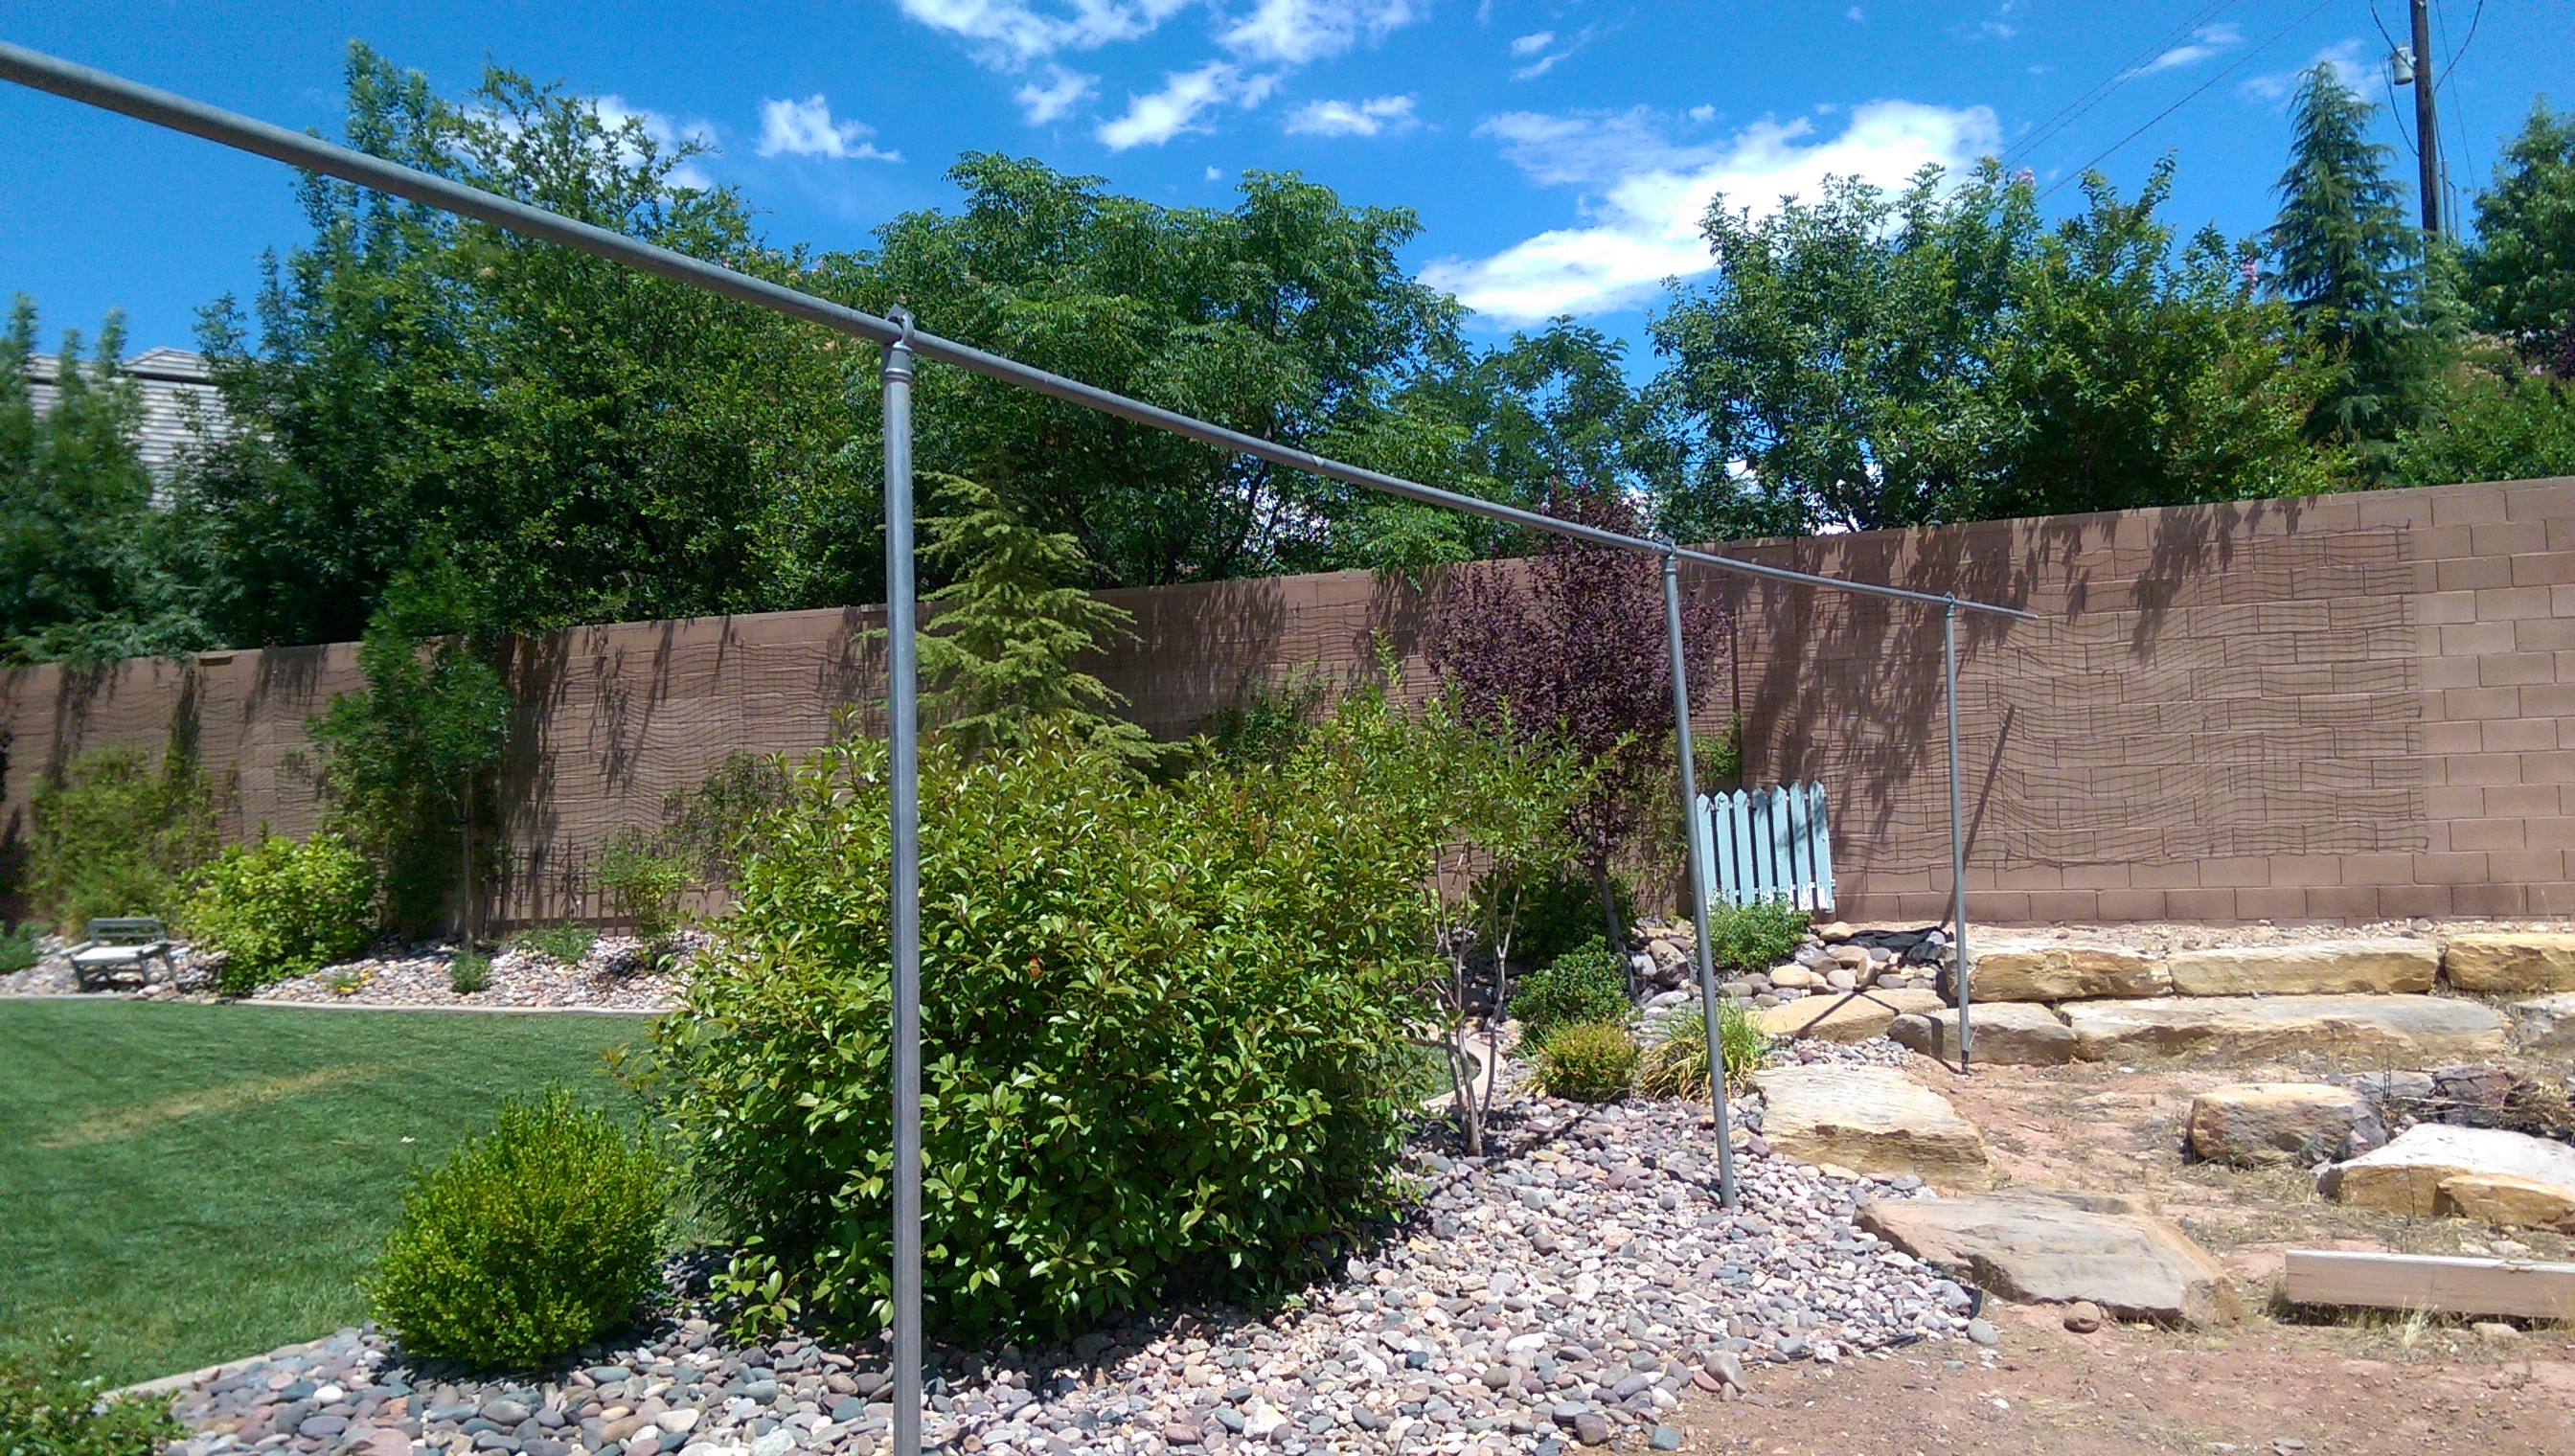
- They then took the borrowed 8-foot long pieces of 2.5-inch galvanized fence post and put them over the top of the t-fence posts. I really wanted them to be 10 feet tall, but when they’re free, you take what you can get.

Galvanized posts are now placed over the top of the green “t” fence posts

This is how they bumped one of the poles up to make it higher, since the ground wasn’t completely level
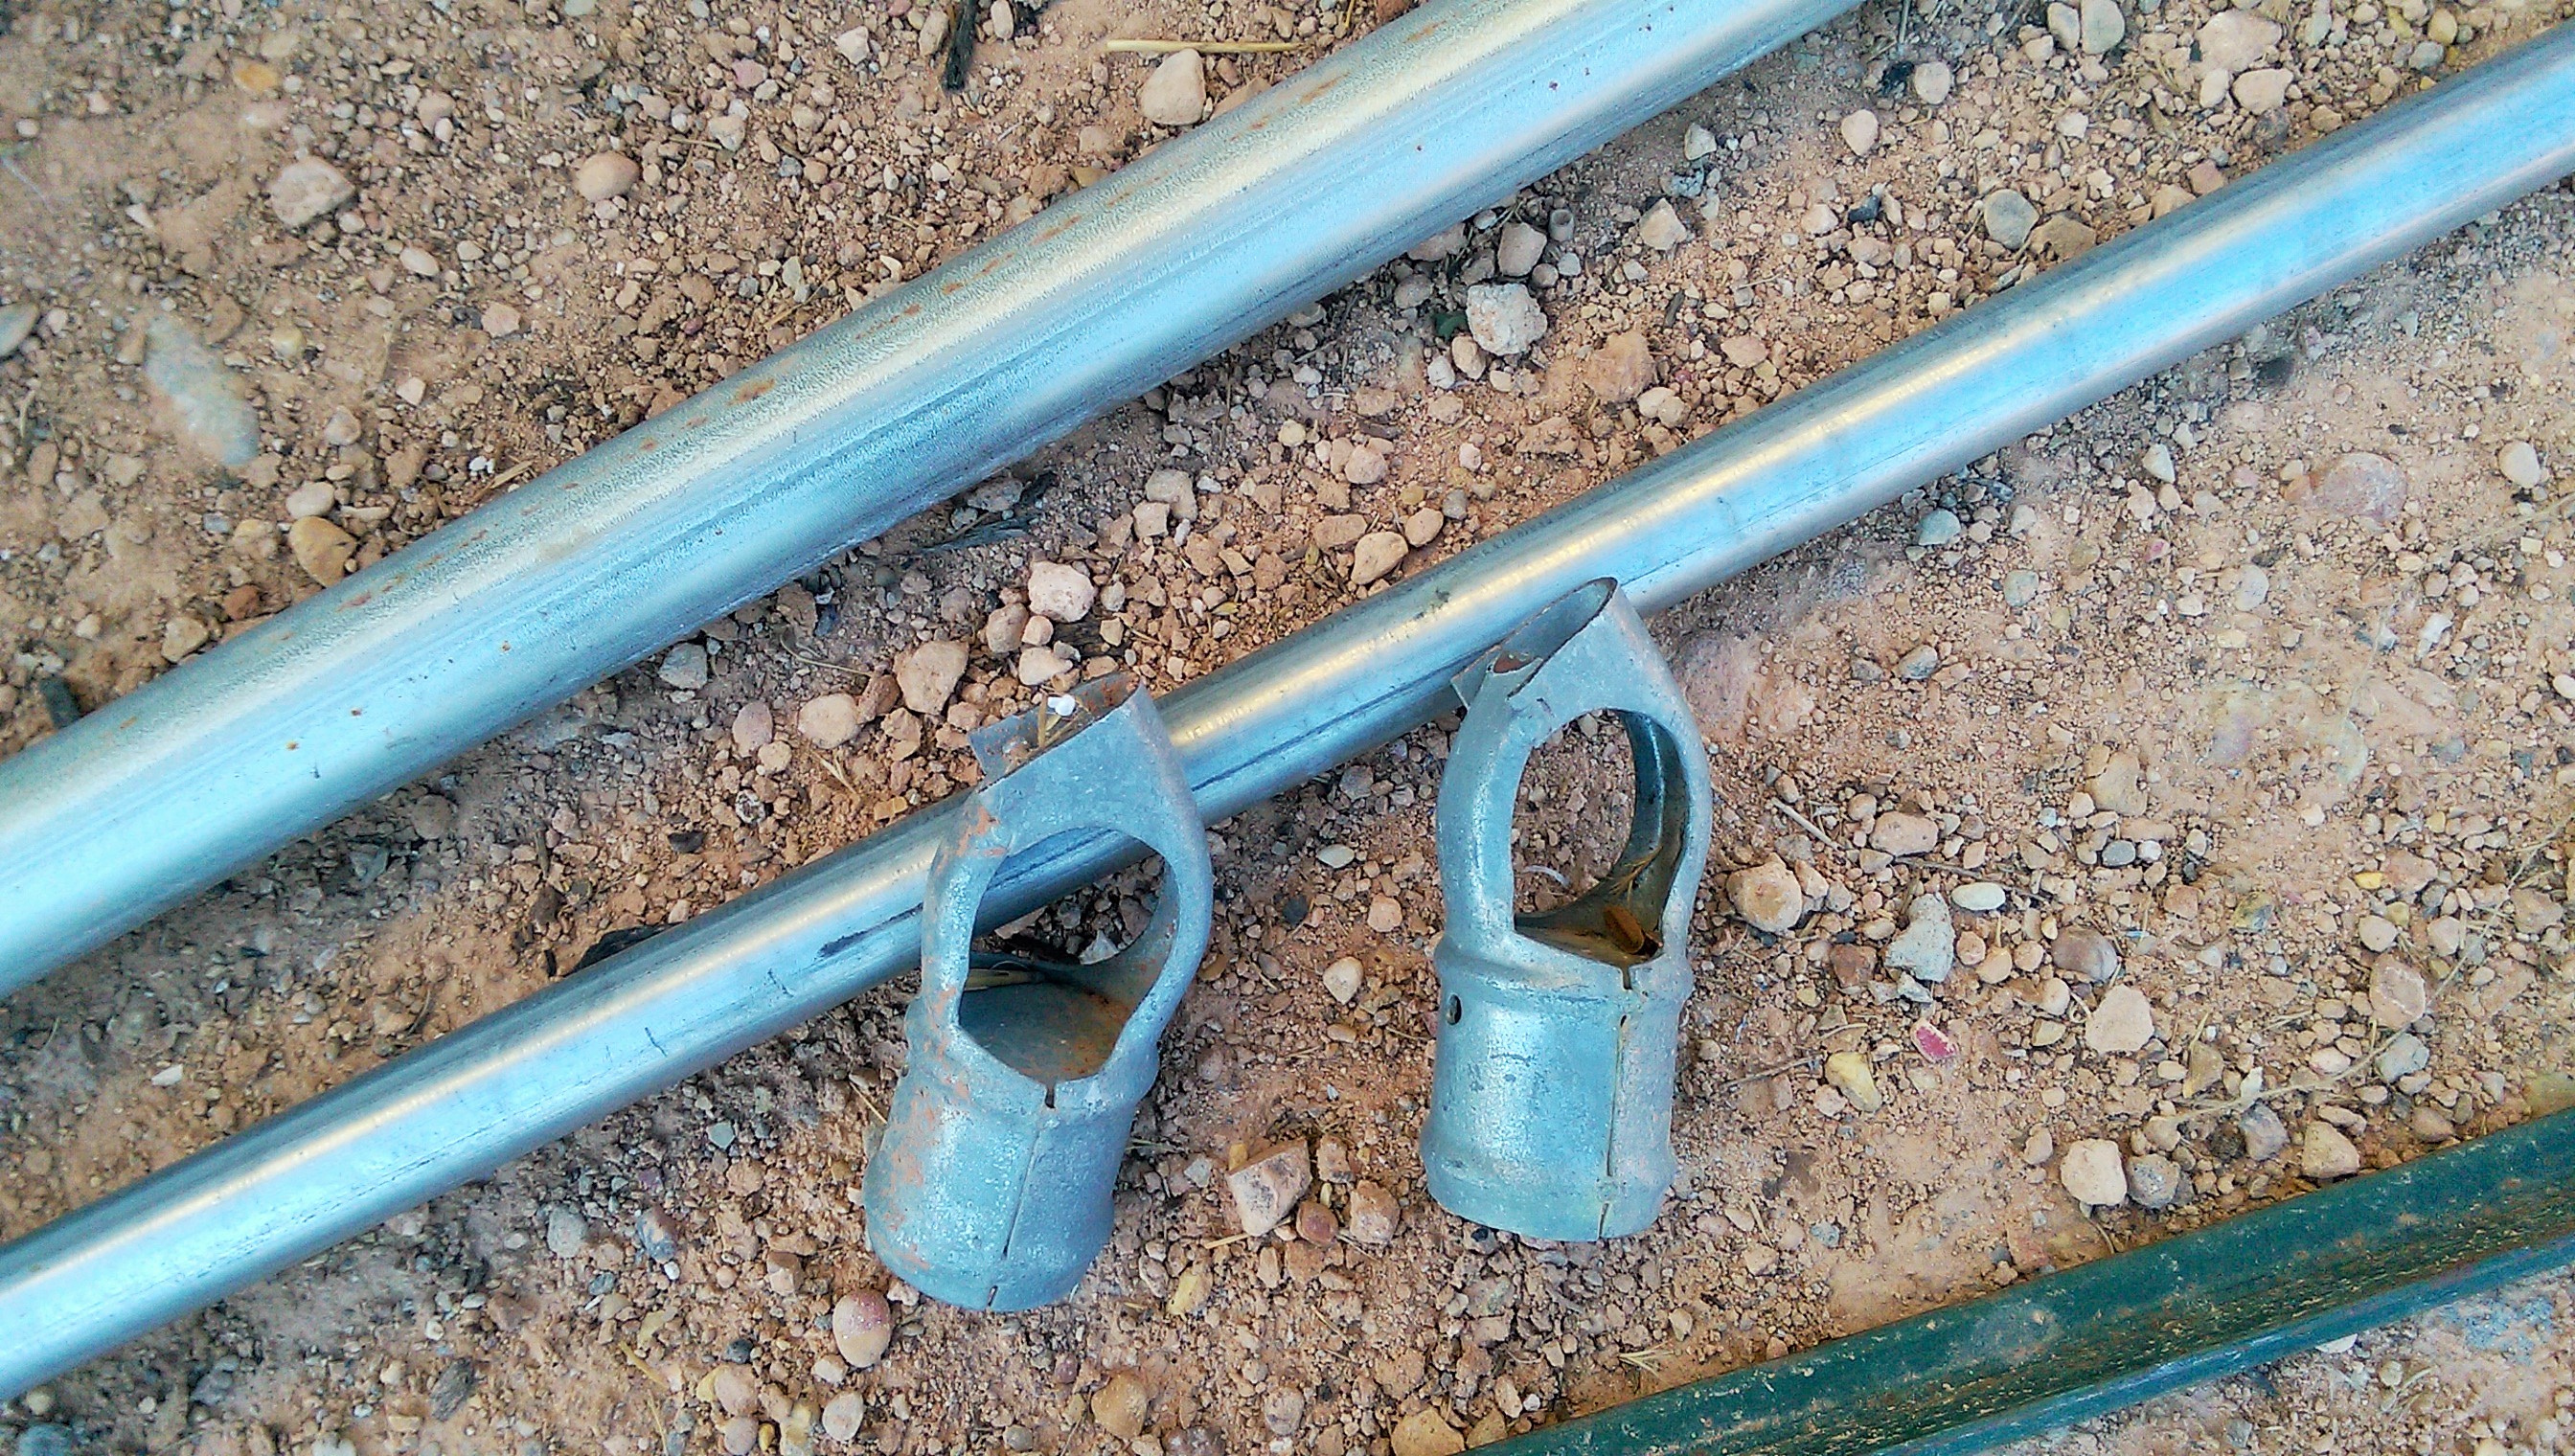
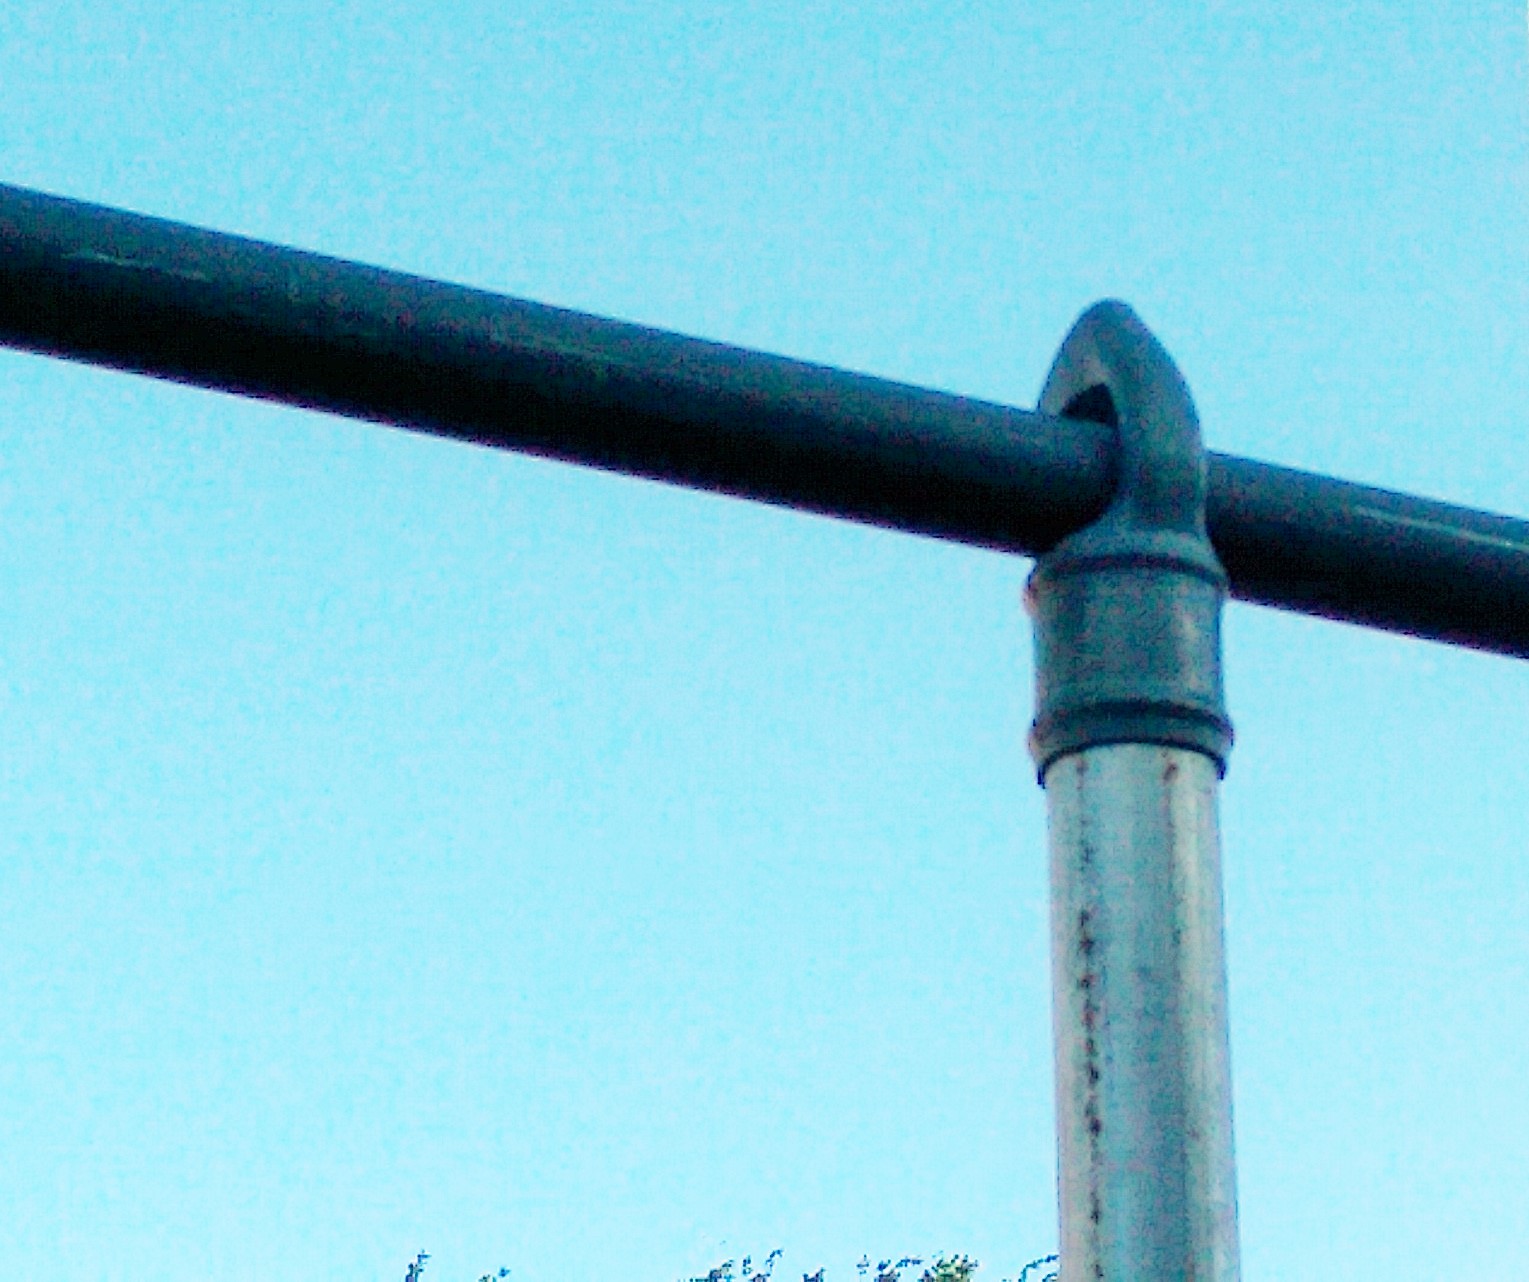
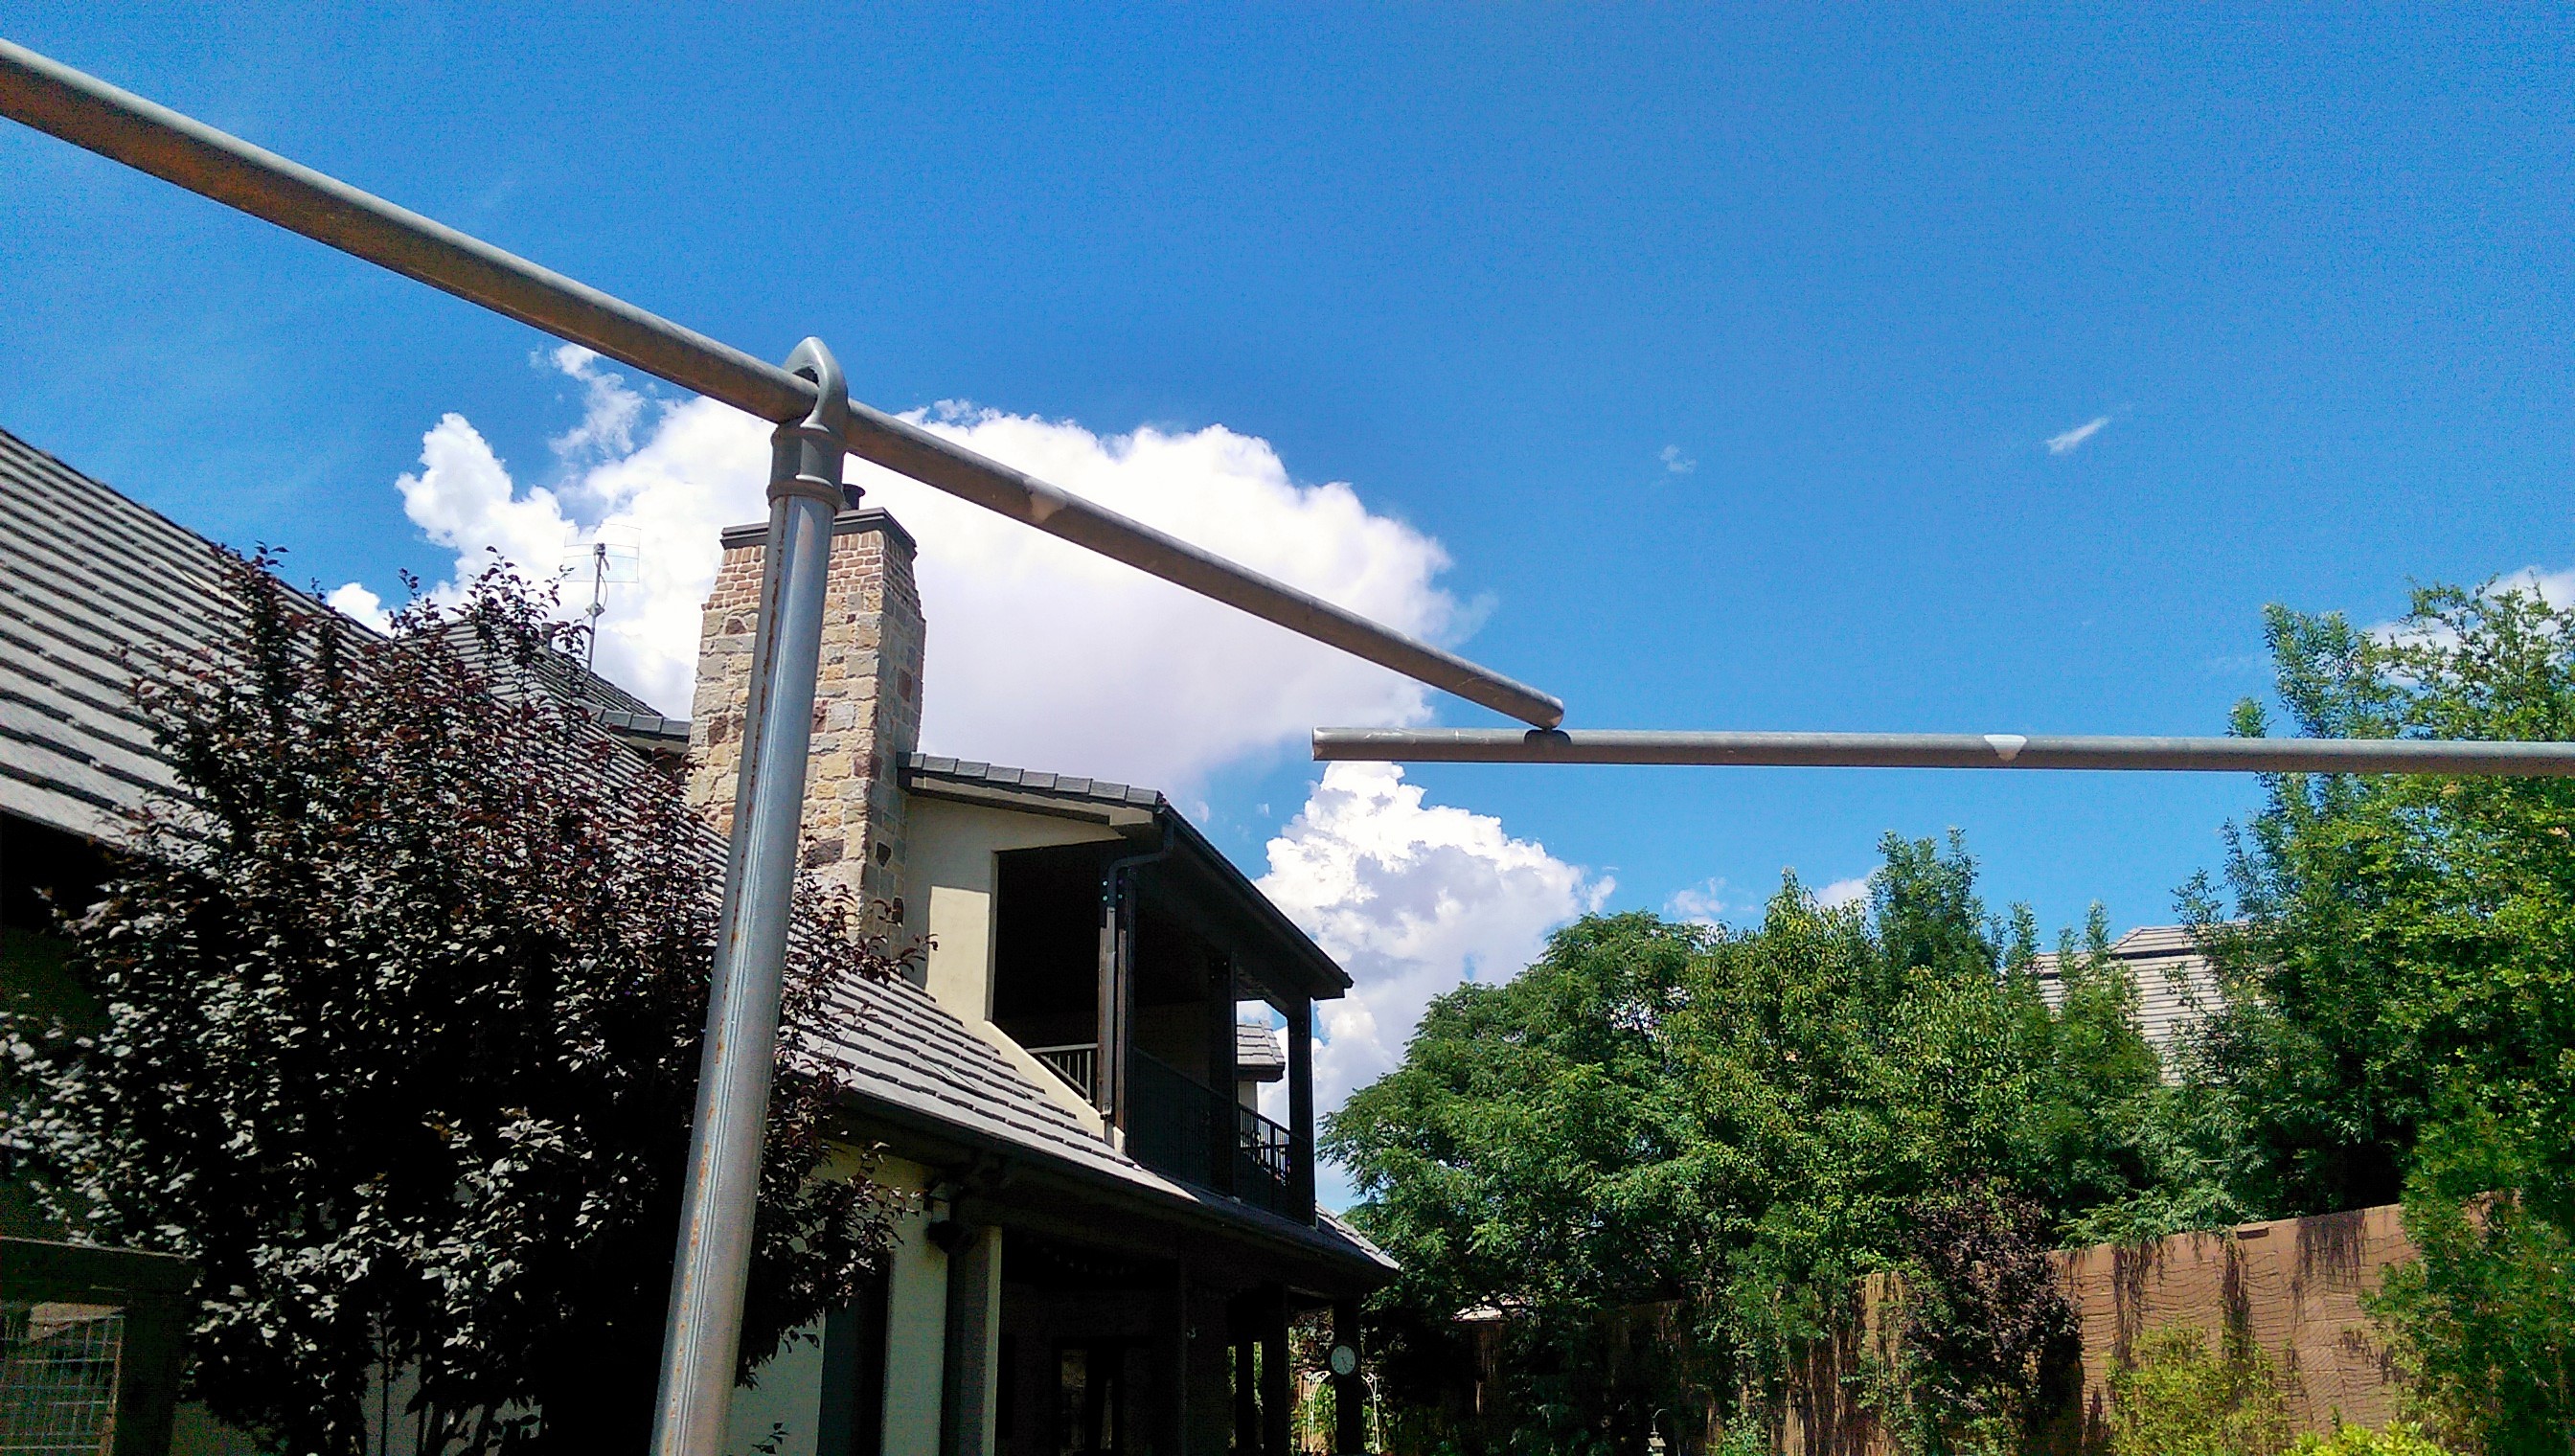
- Next, they put the metal top rail brackets on top of the poles, which are used to connect the top rail, and then the top rail pieces were run across the top of the posts and through the brackets, finishing the structure part of the wall.


Top rail is in place

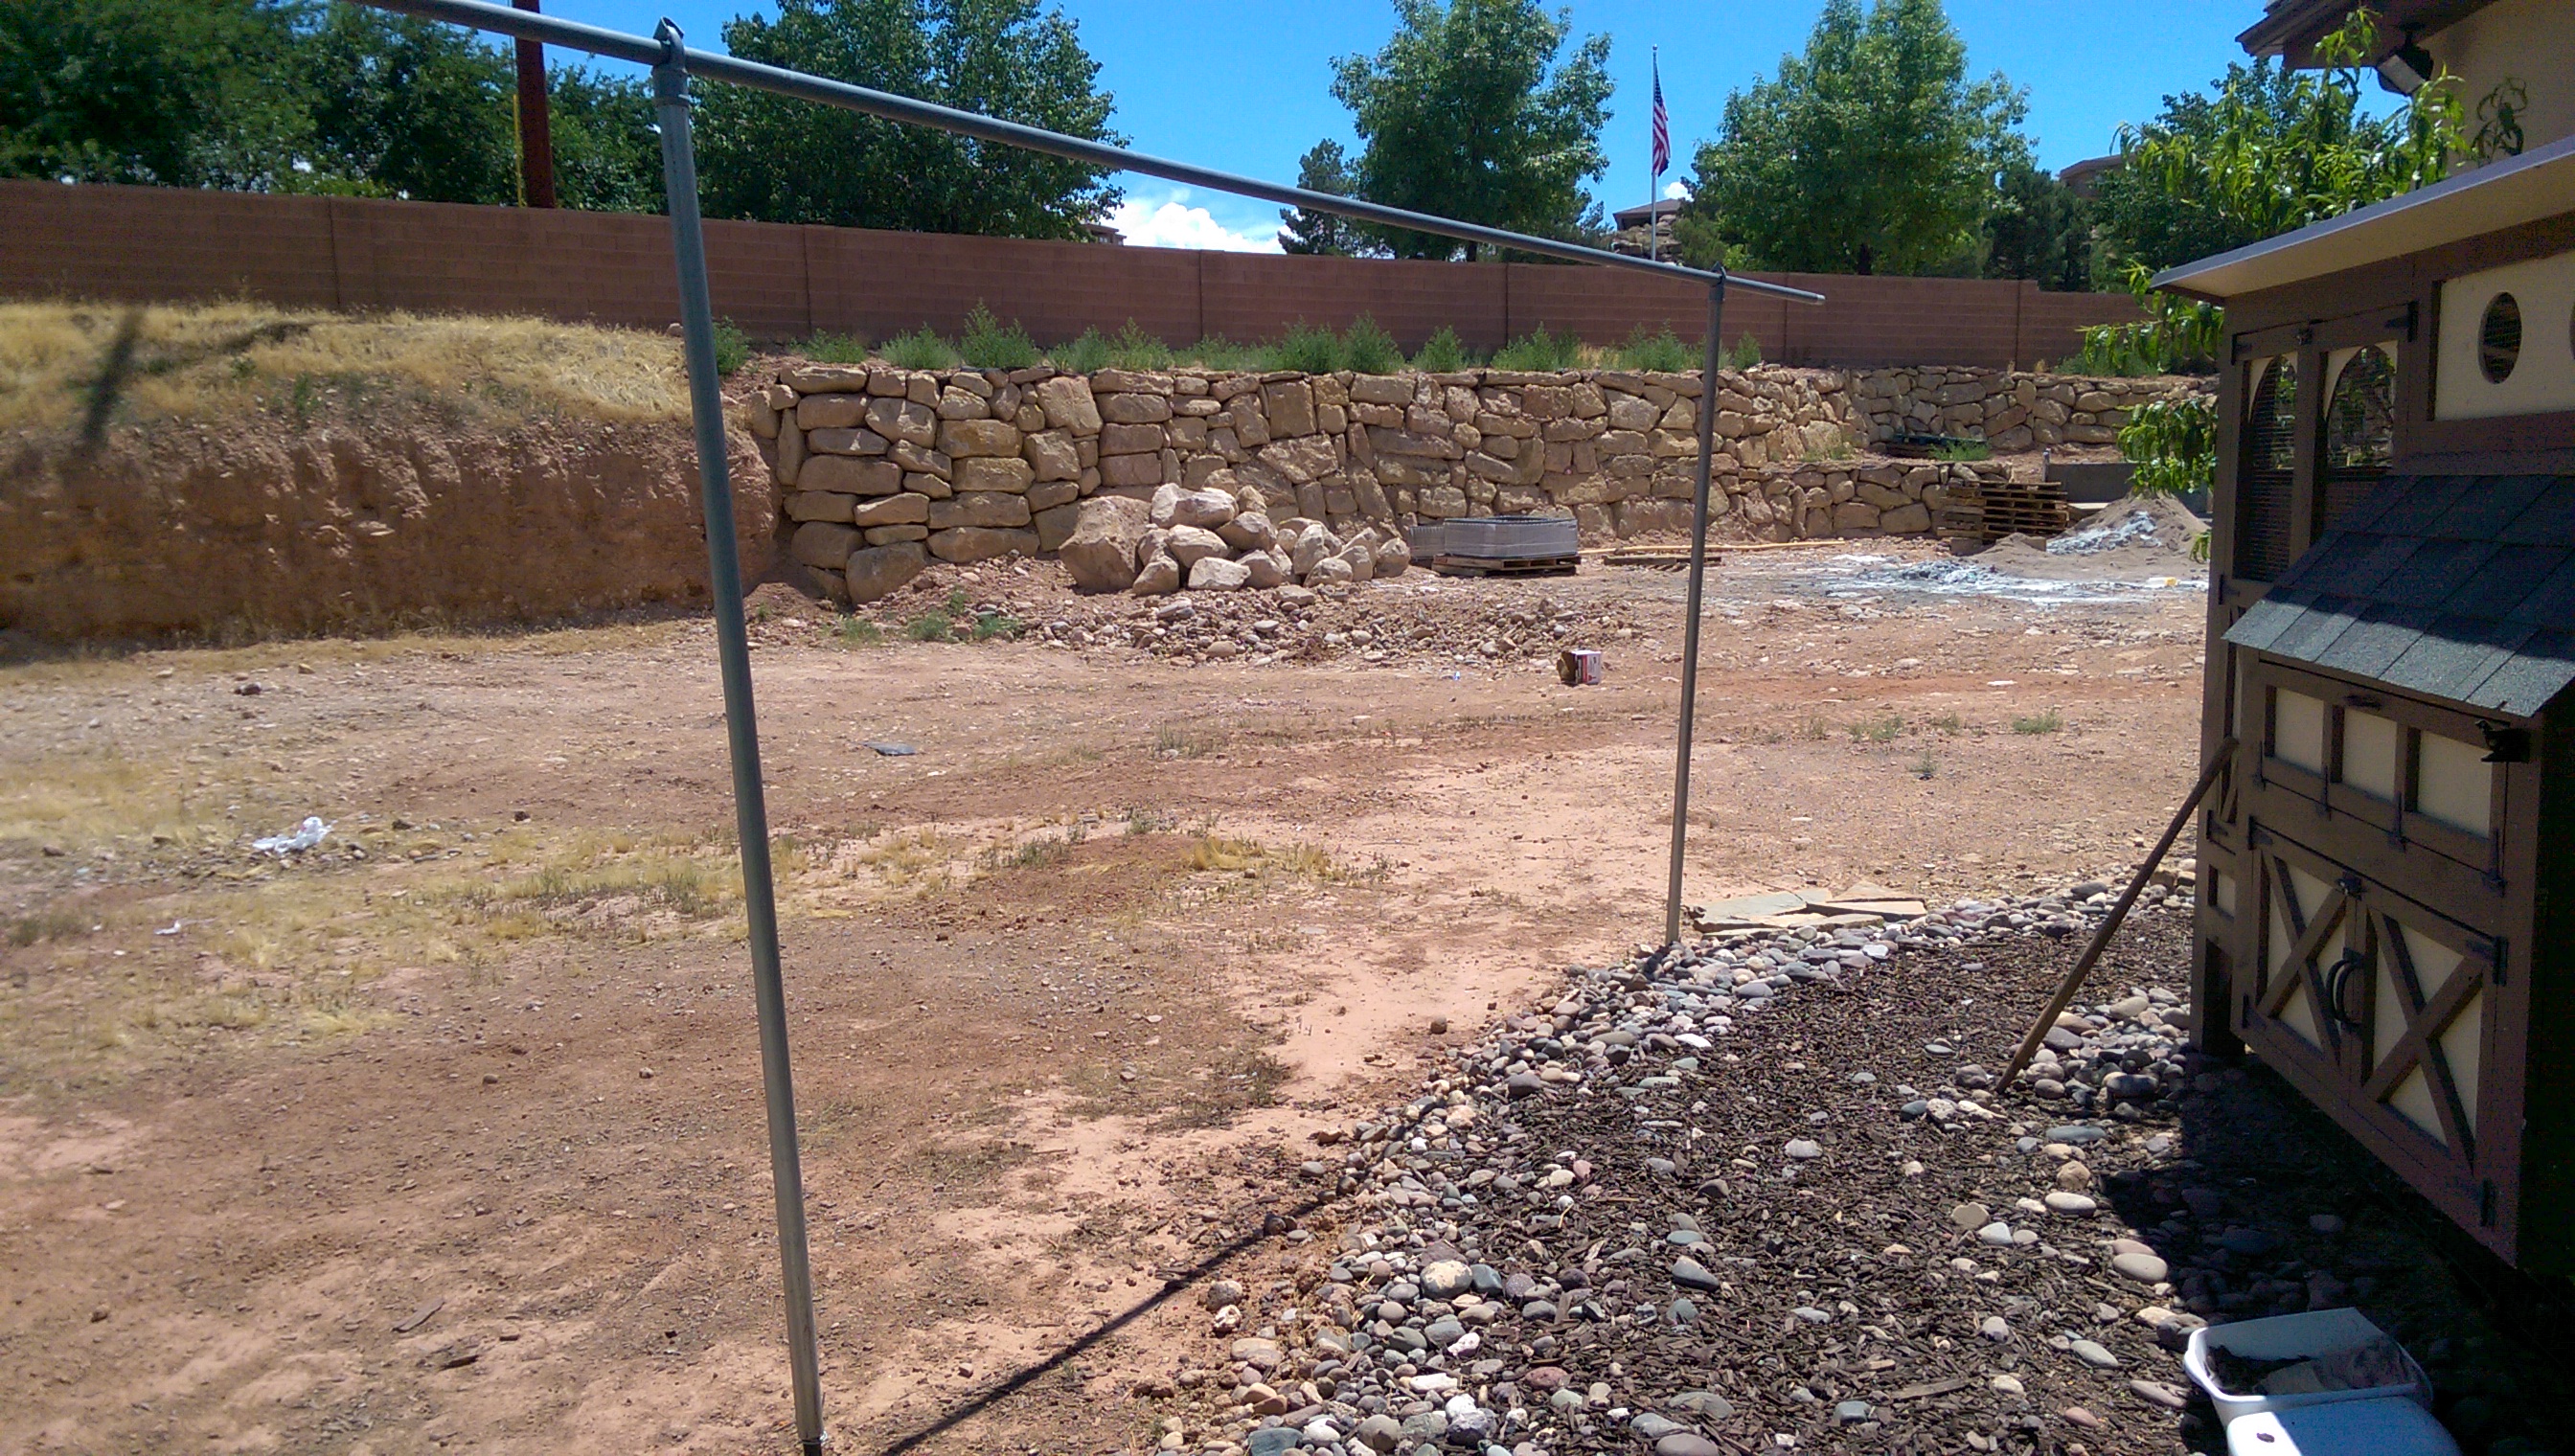
This is where the structure had to turn, based on the shape of the backyard

The structure is complete, and ready for phase two.
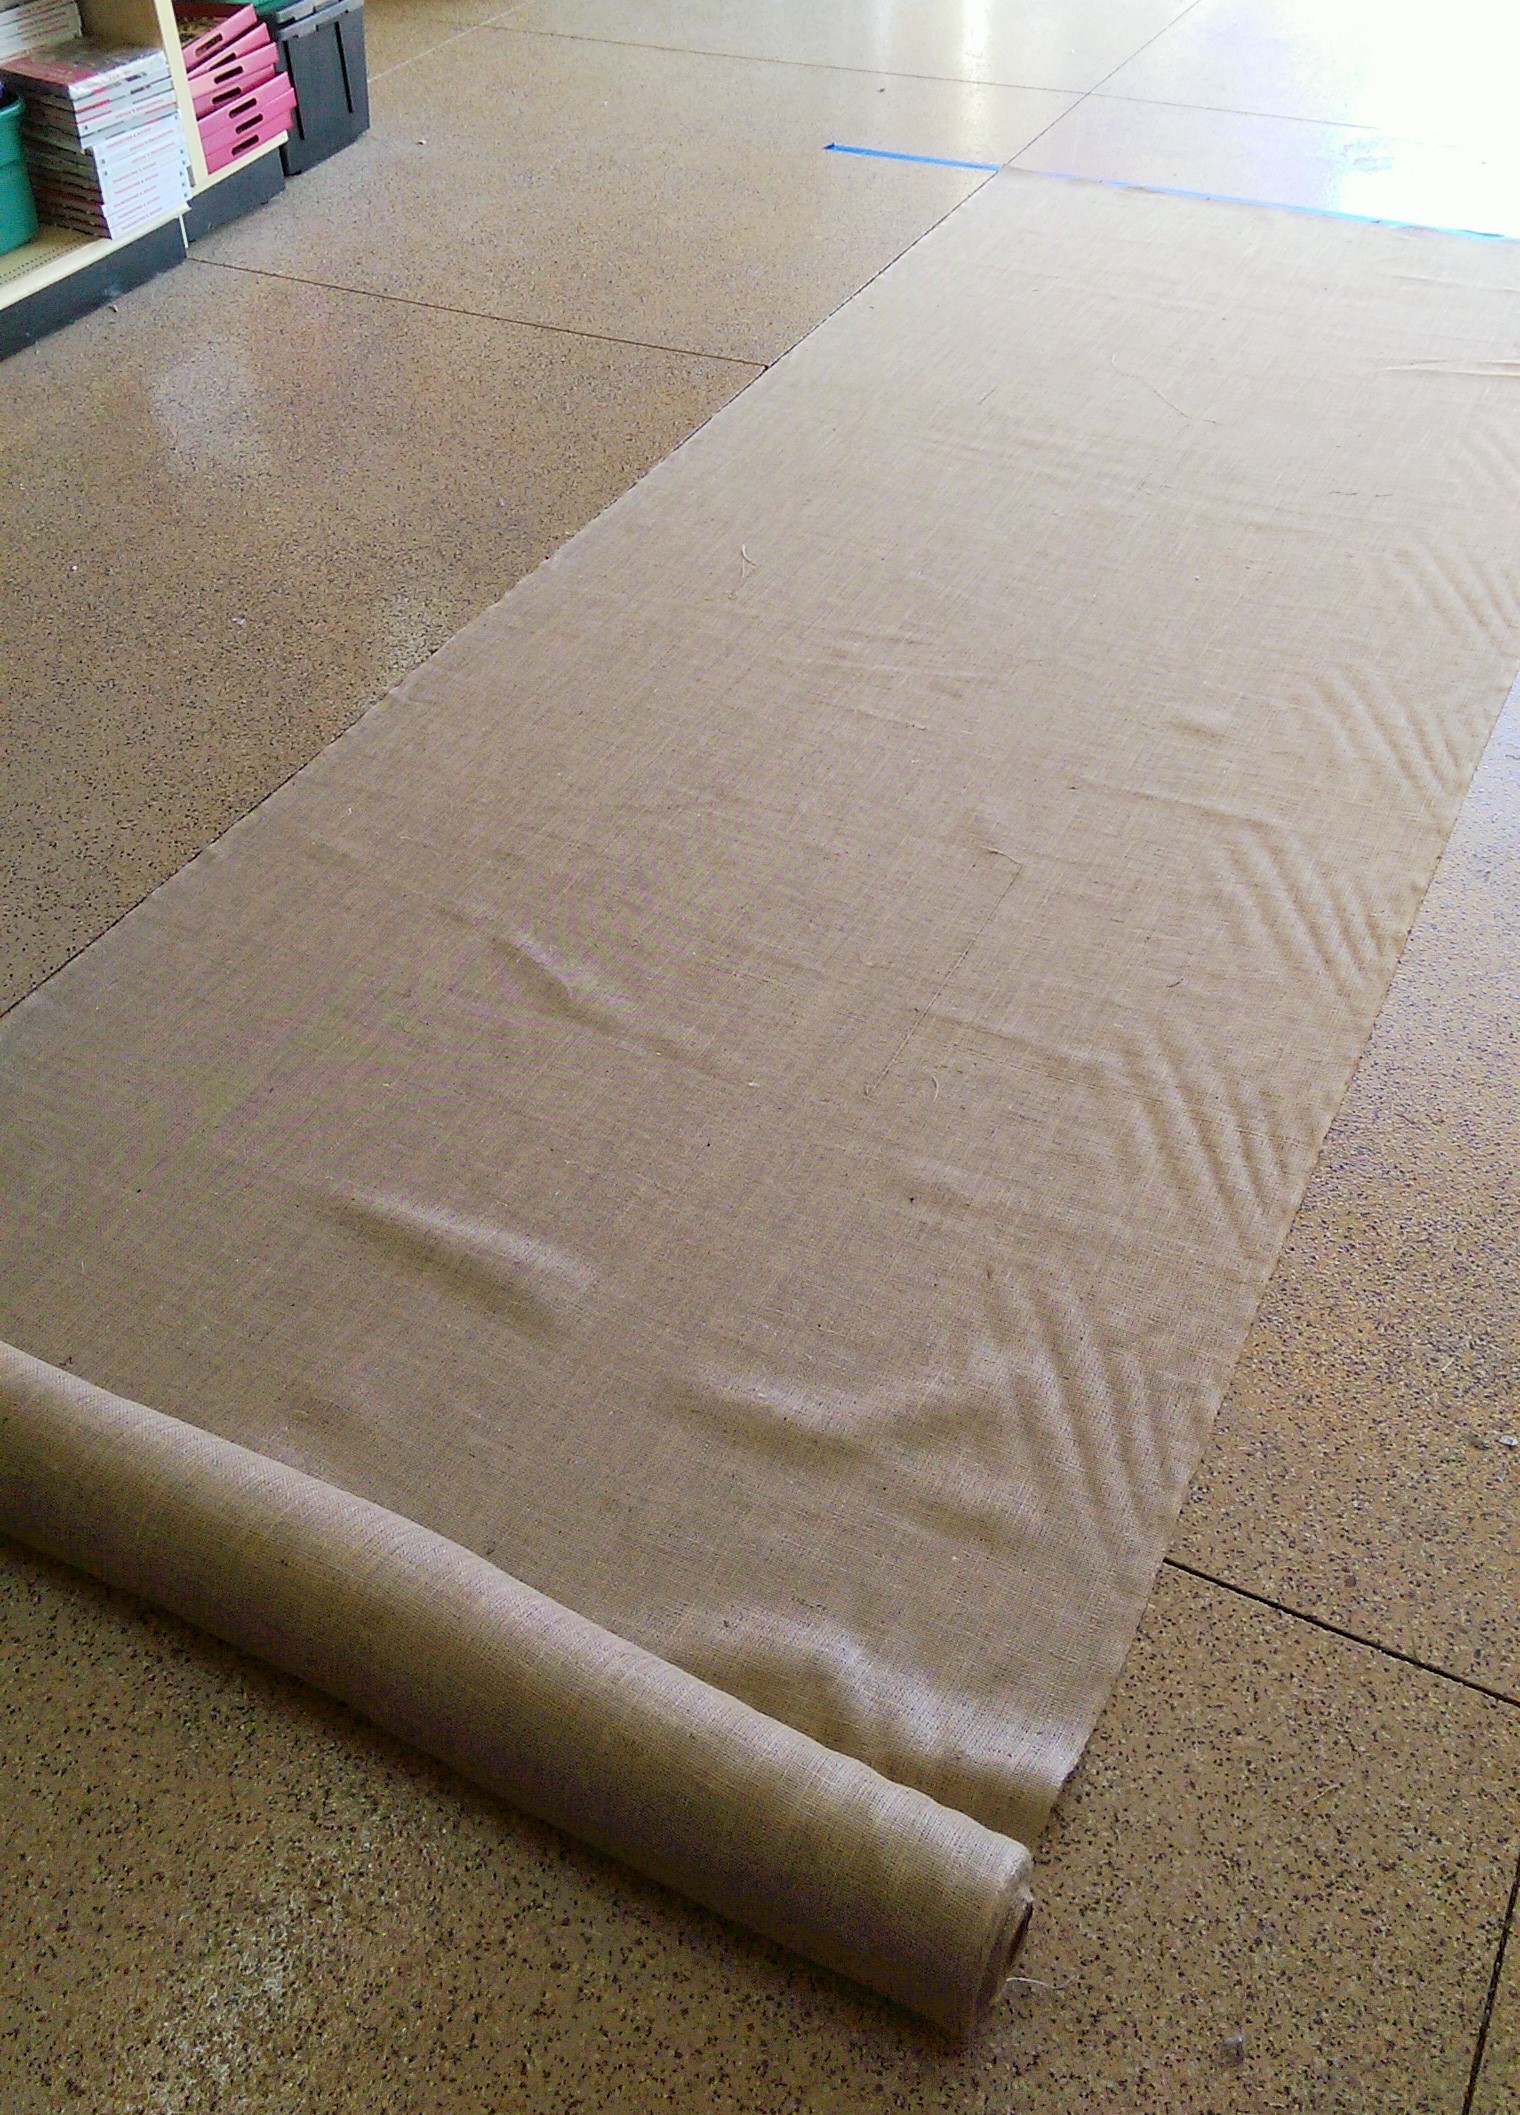
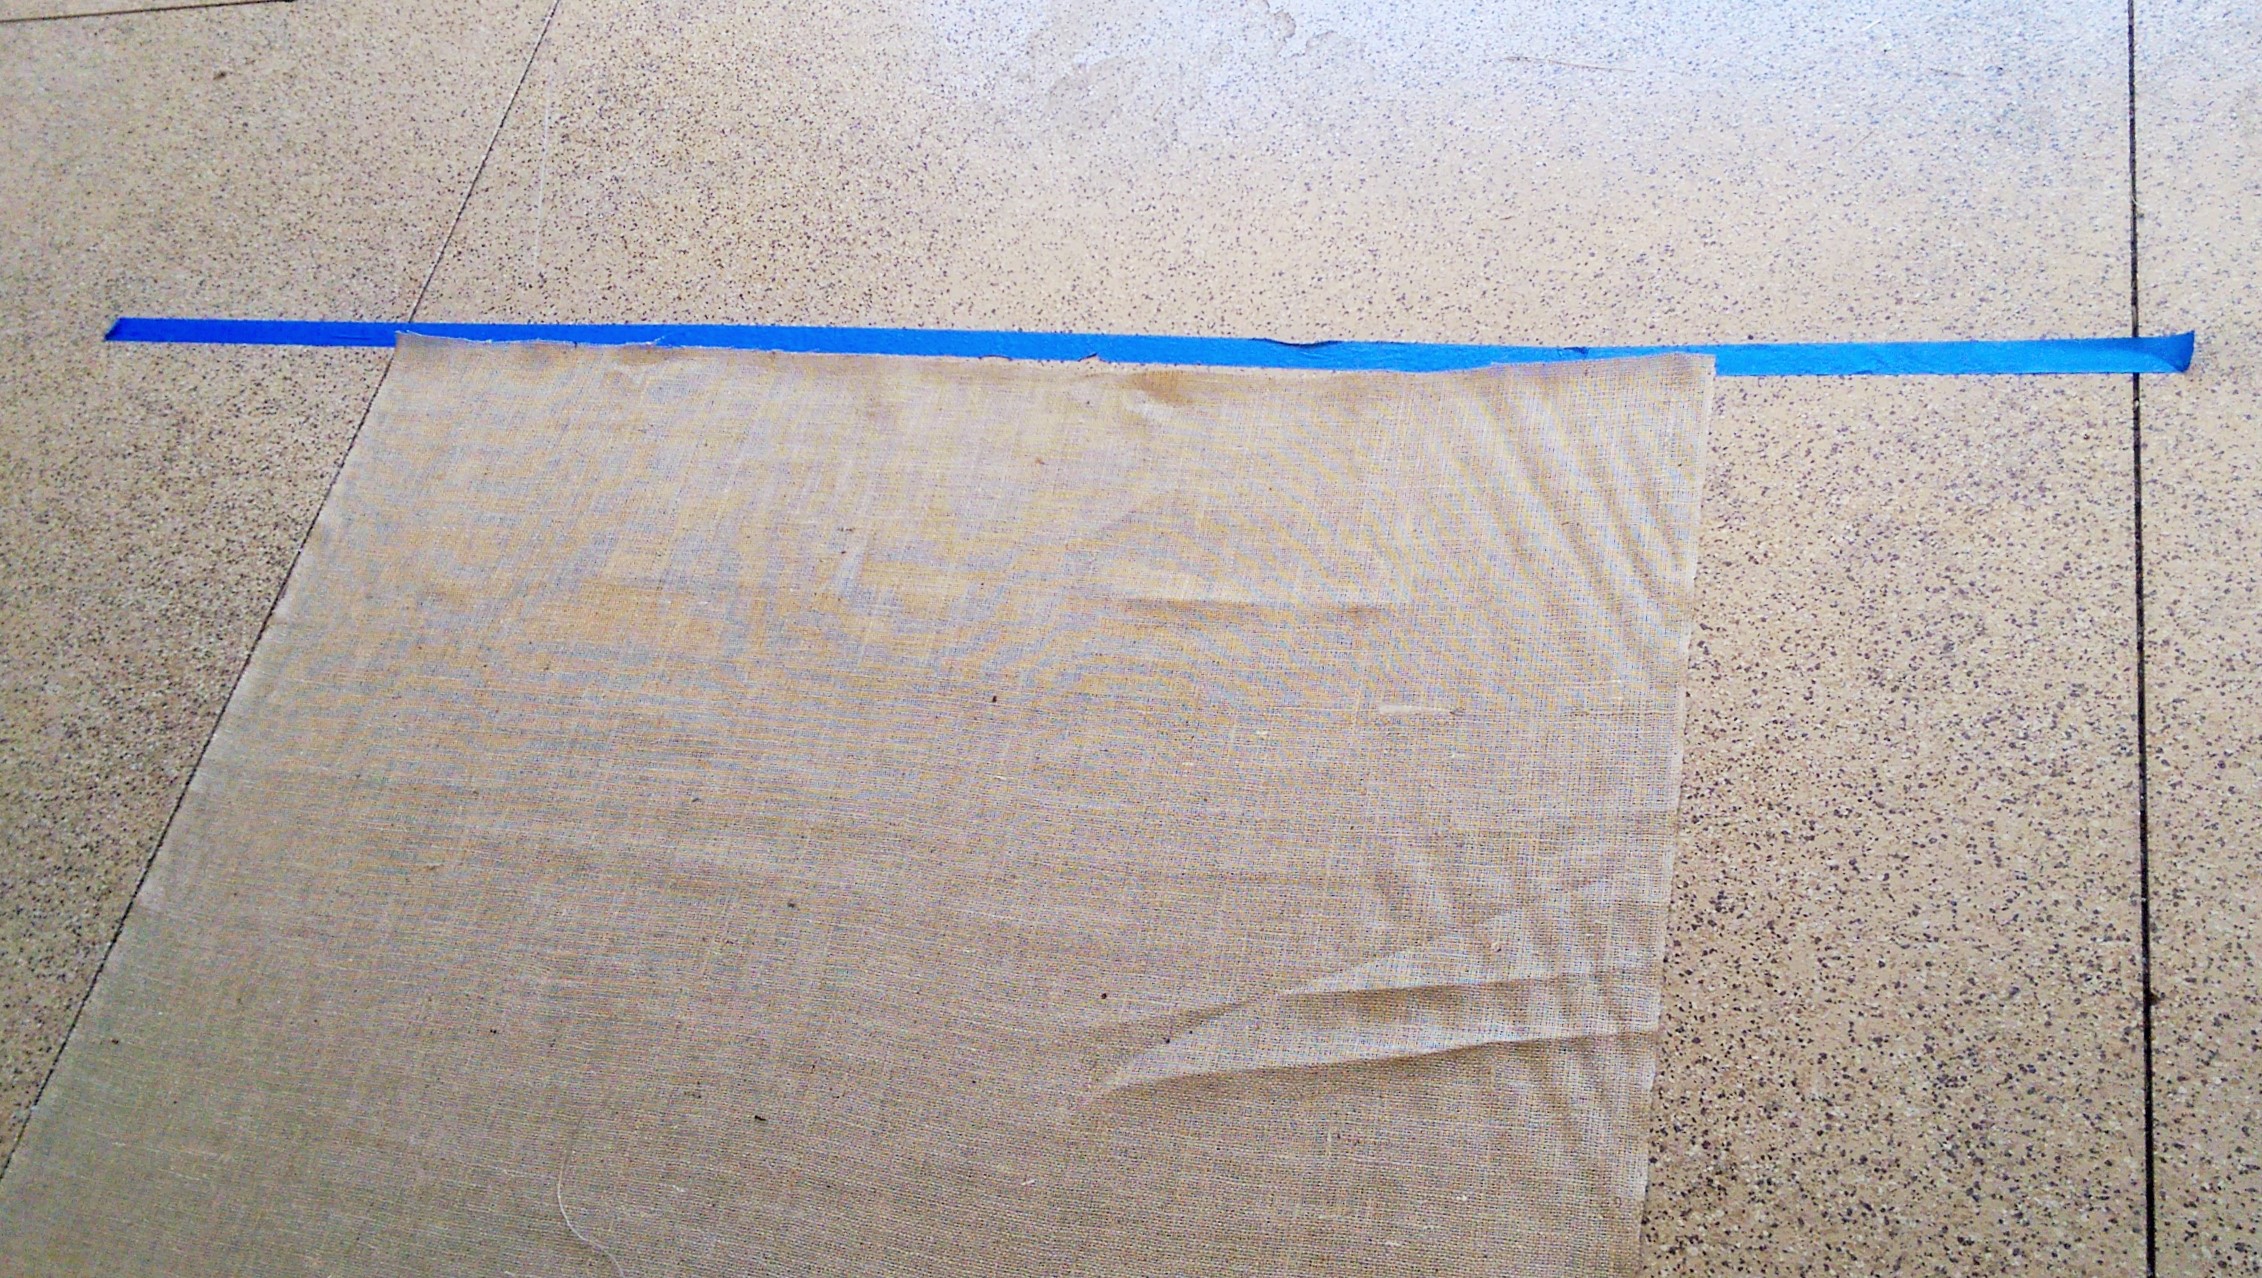
- On to the burlap! I rolled the burlap out on my garage floor, and used the grids in the concrete as a guide. I decided that since the wall was going to be 8 feet tall, I wanted to allow a couple of extra feet at the bottom in order to put rocks on the extra burlap to keep it in place. I also wanted about a foot at the top to sew in a rod pocket. So I decided I needed to cut the burlap panels 11 feet long. I put down a piece of blue painter’s tape 11 feet from one of the grid lines to make it easy to measure out.


- I used the indentation in the concrete floor as a cutting guide. I almost felt like I was a true fabric store professional with that awesome cutting guide in my floor. Other than the fact that I was cutting on a garage floor. Anyway . . . .

My professional cutting station

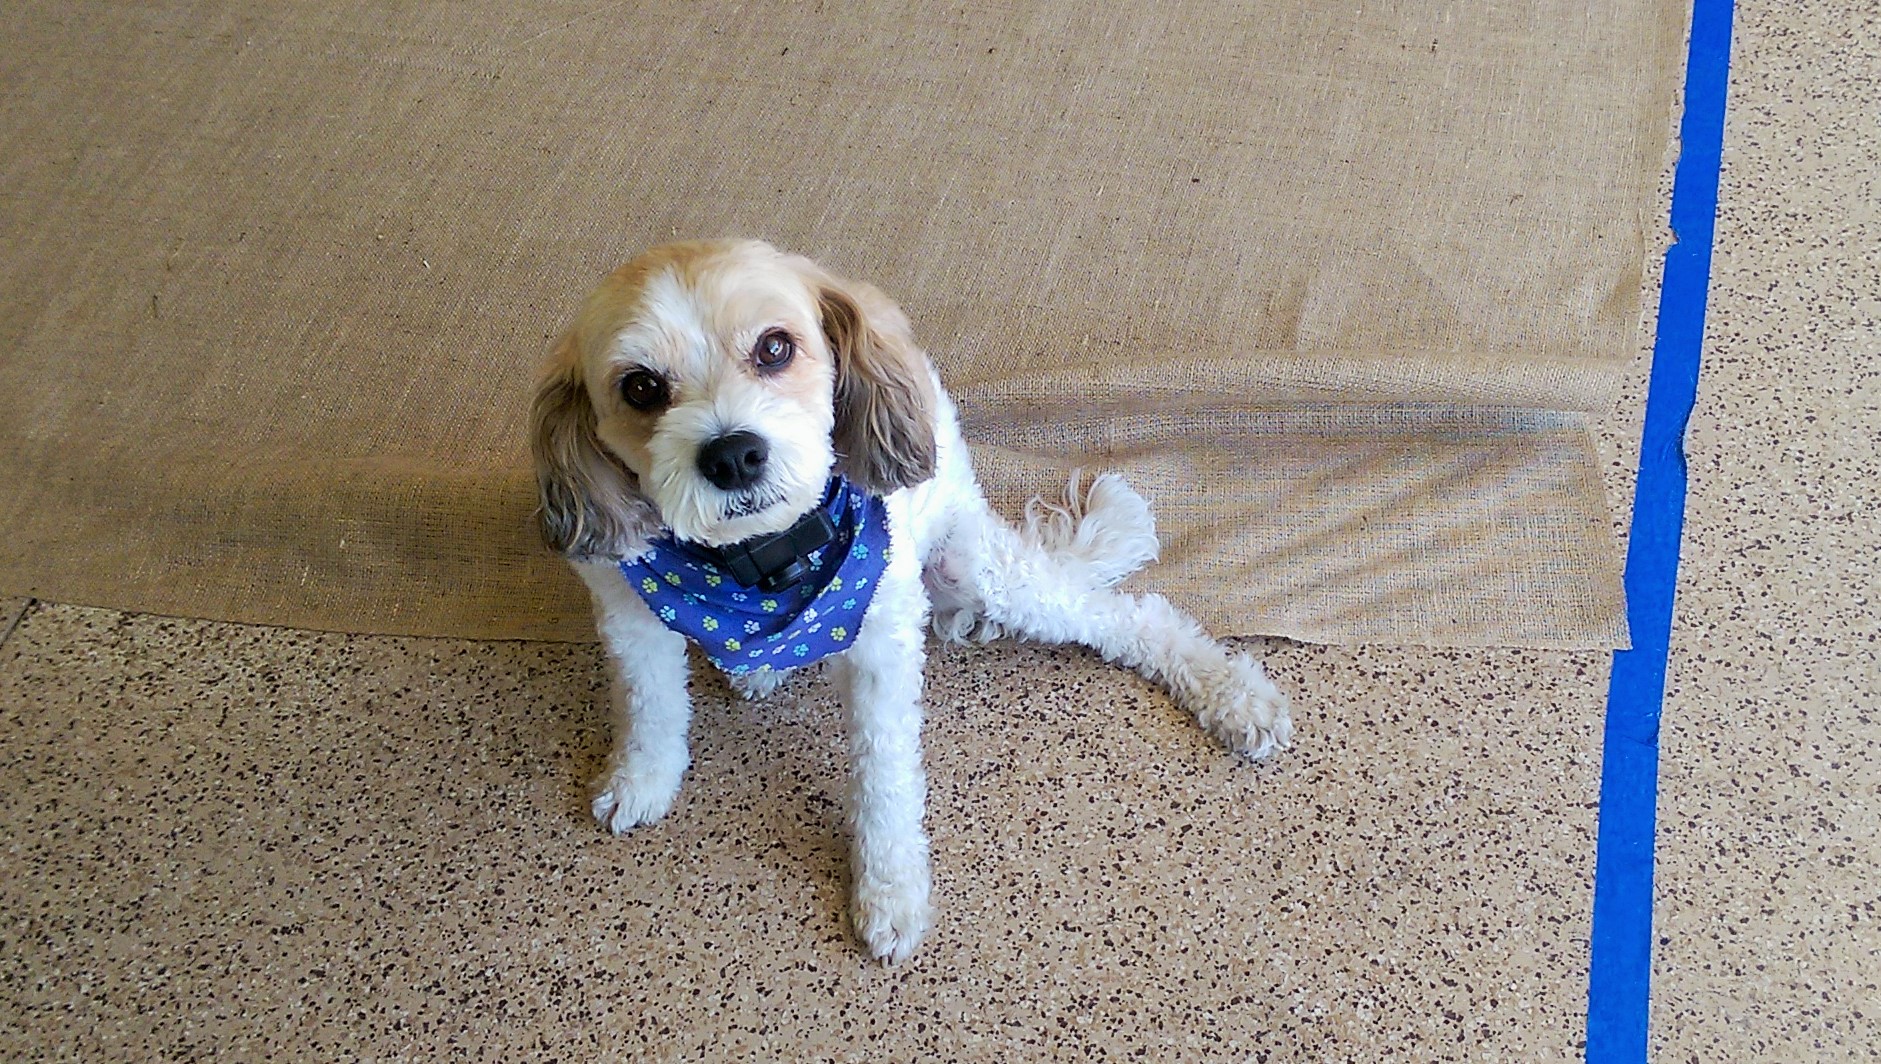
Marco may be super cute, but he is also soooo in the way.
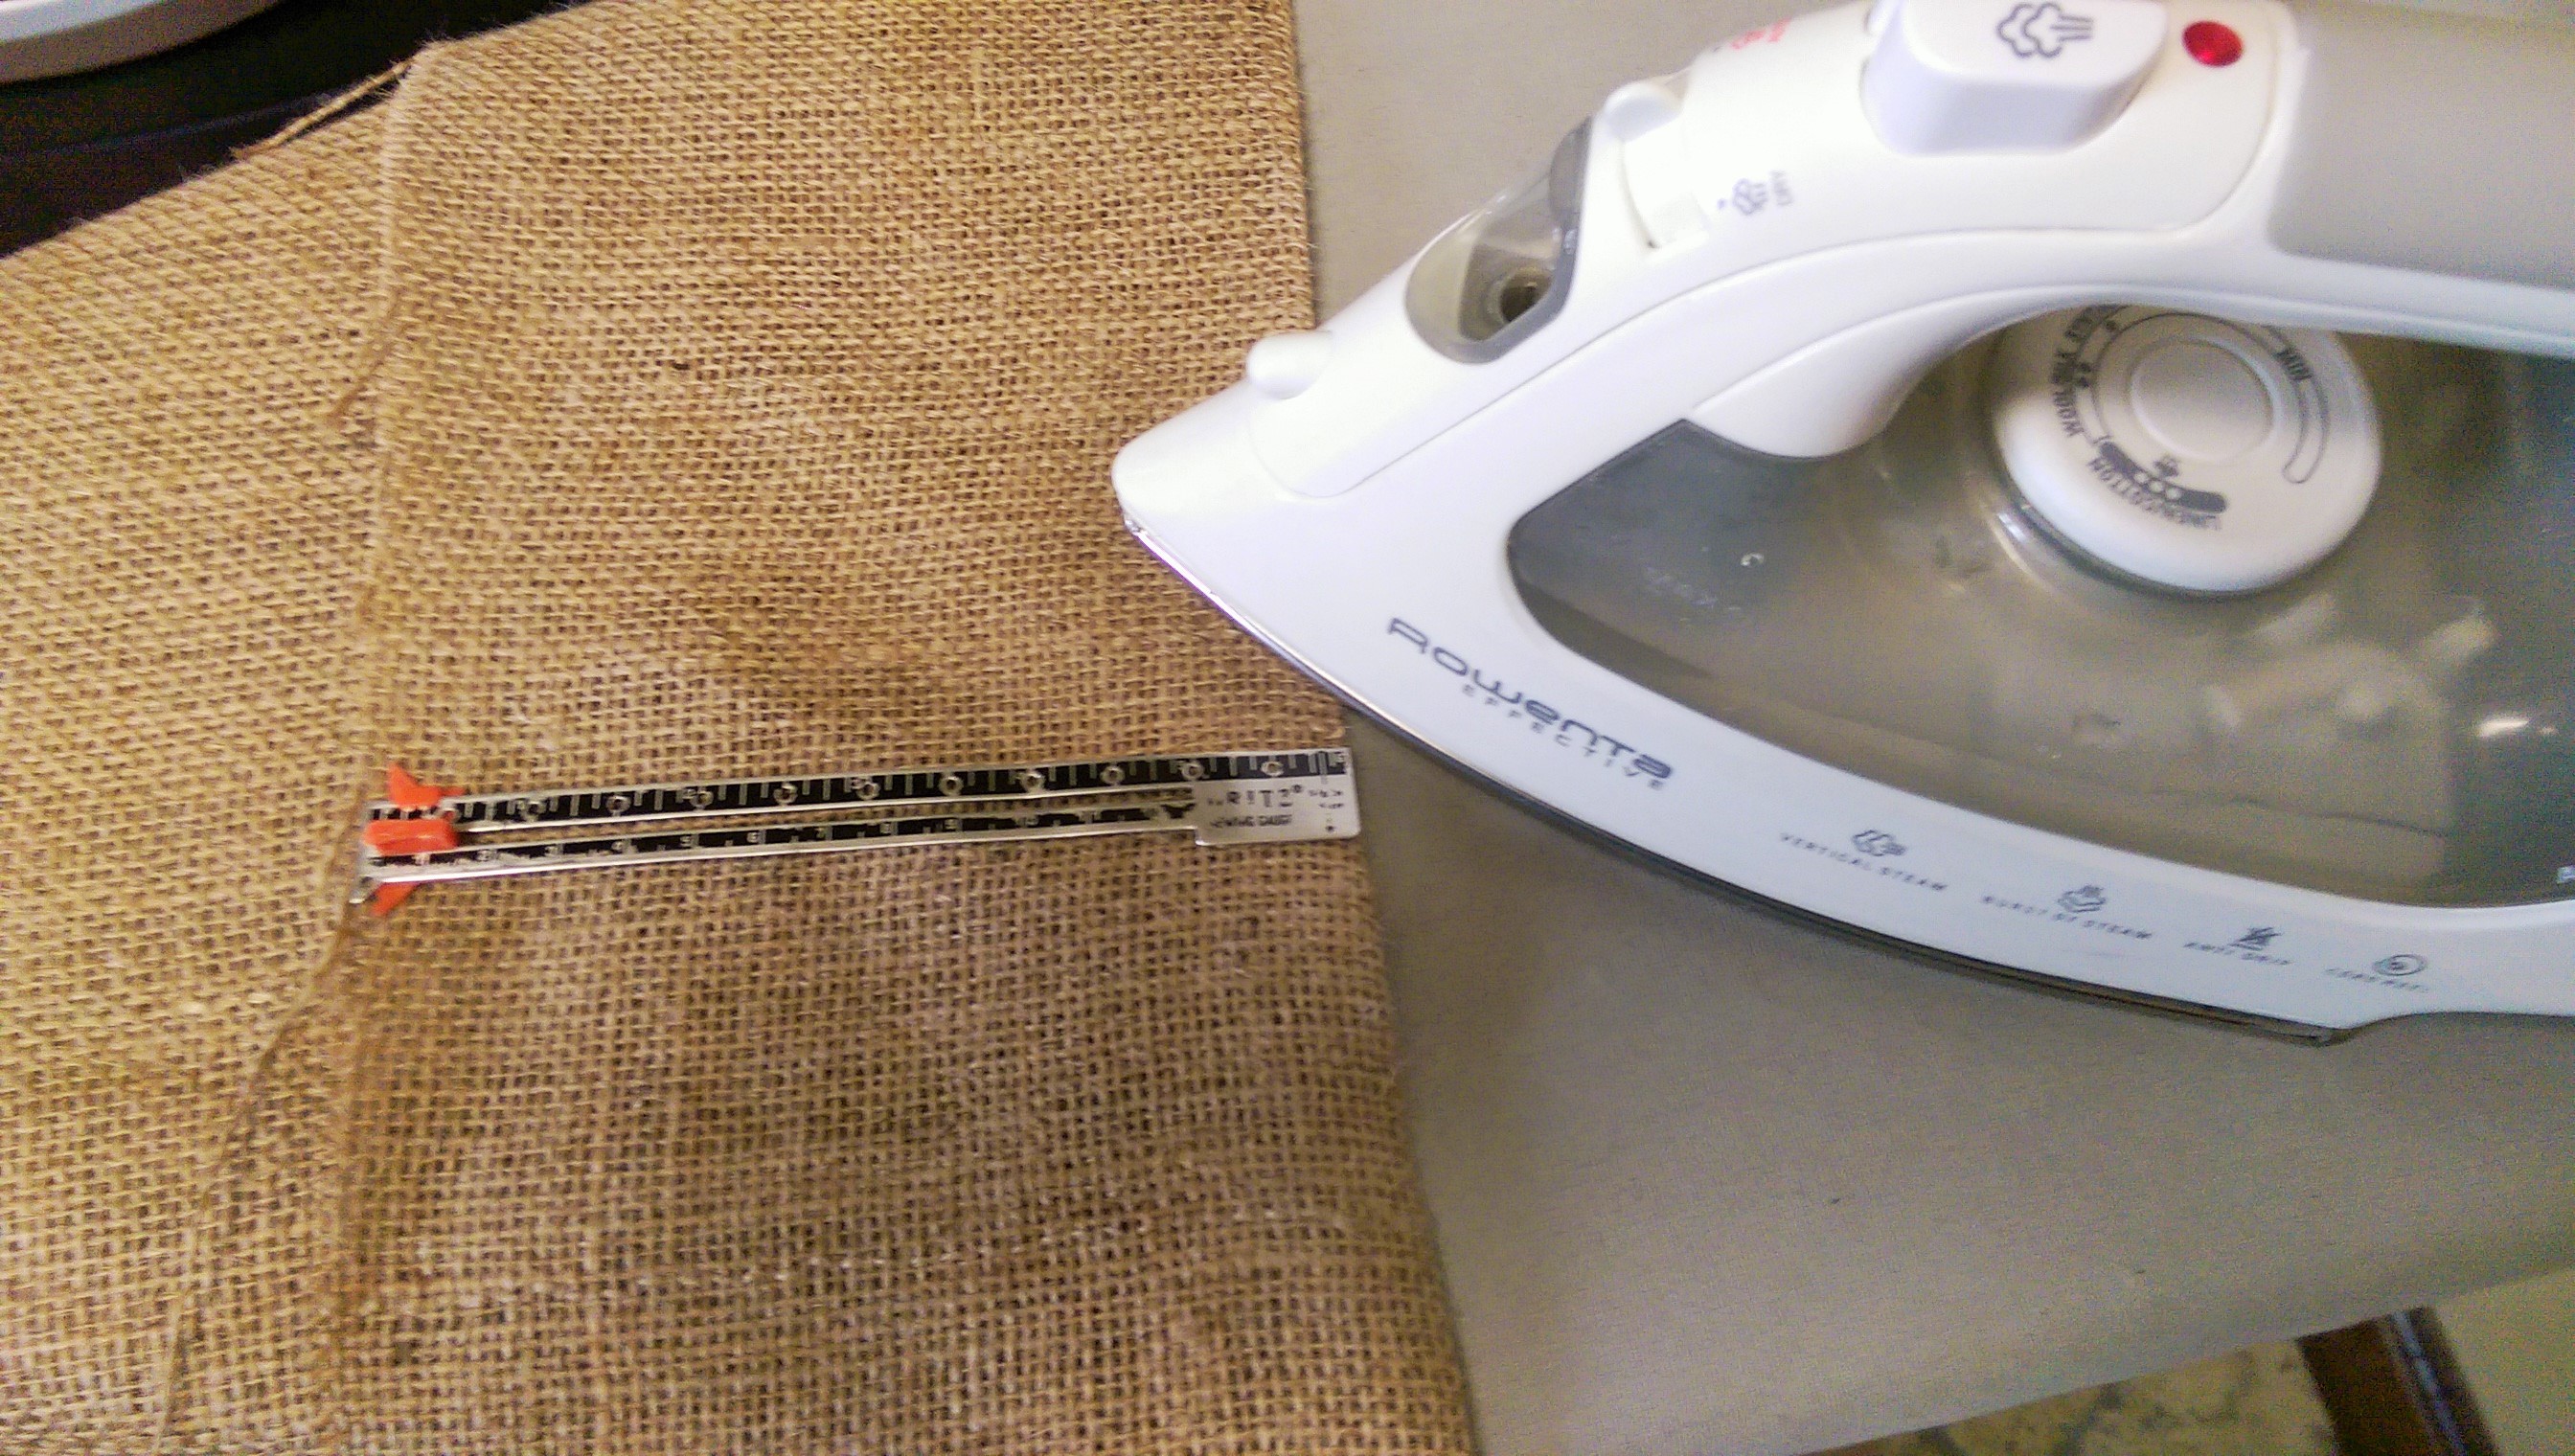
- Next, I folded the end of the burlap over 6 inches, and ironed the fold. I used a basic steam iron on a pretty high heat, and used plenty of steam. The burlap held up just fine under the heat.

Fold fabric over 6 inches, and iron it flat
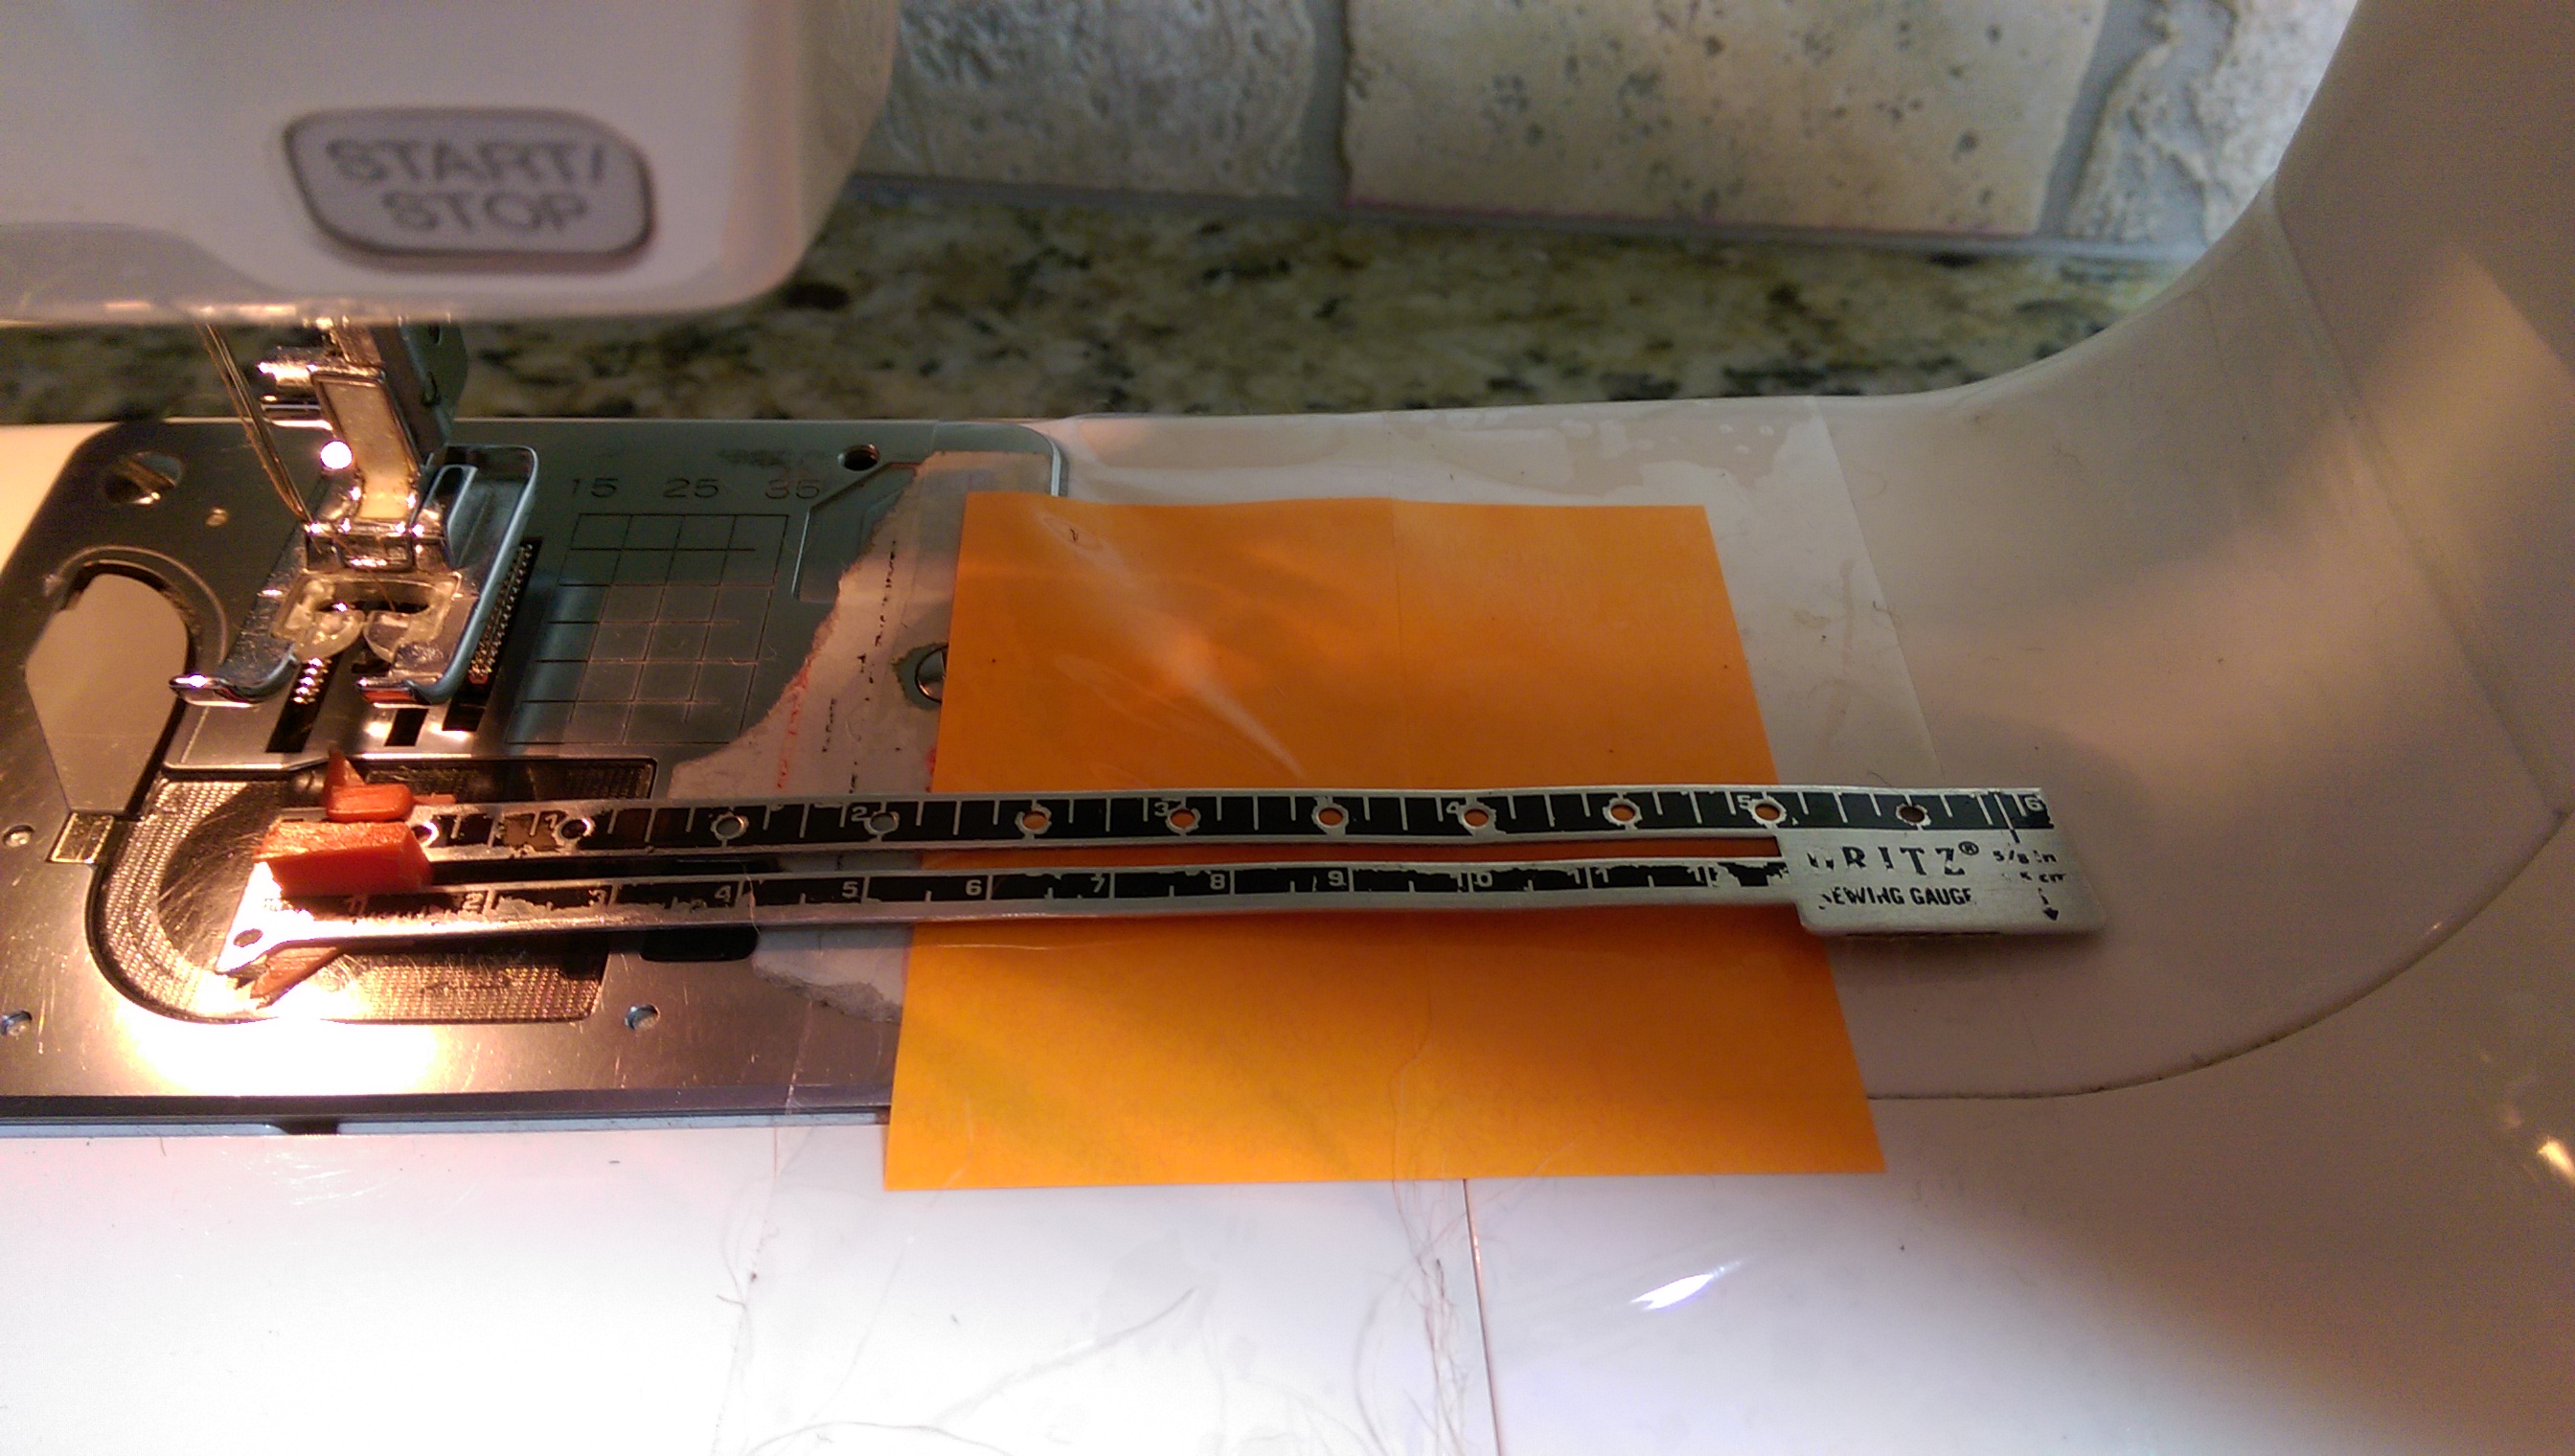
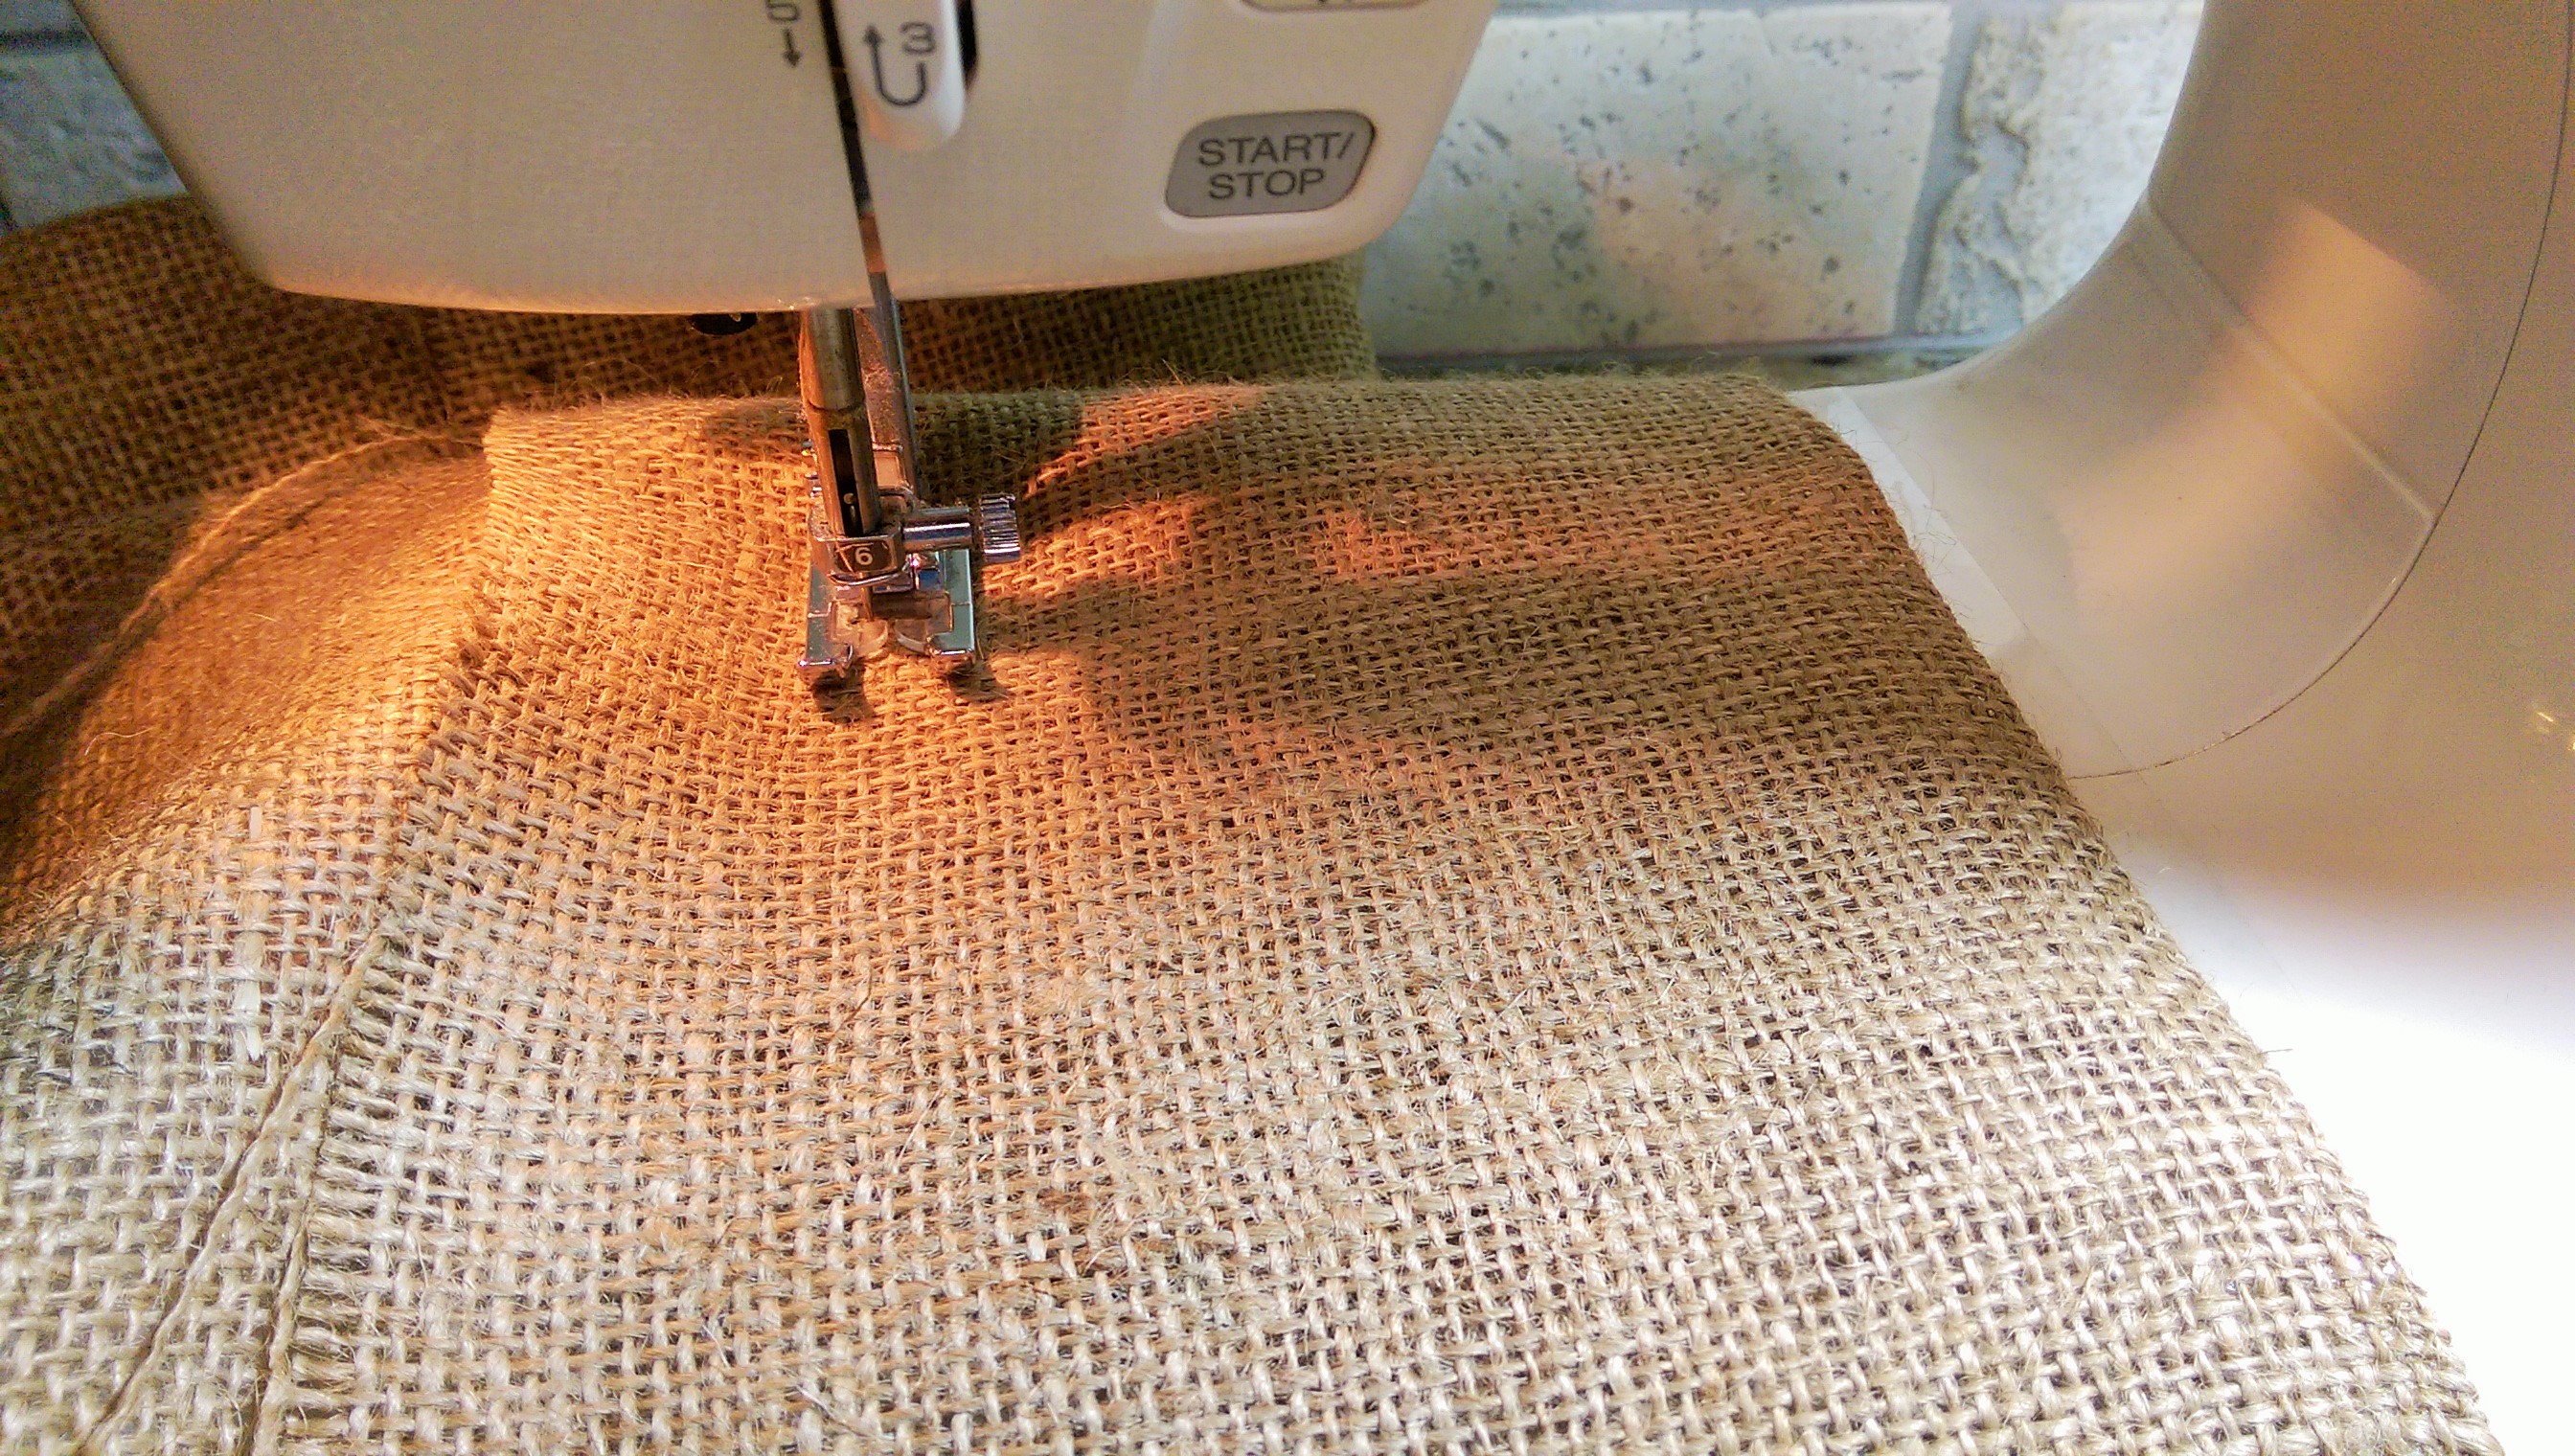
- Moving on to my sewing machine, I sewed a basic straight hem line 5 inches from the fold, which was about an inch in from the cut. In order to make myself a guide, I taped a post-it note to the sewing platform to easily keep my 5 inch hem straight.

A 5-inch hem guide was created with a post-it note taped to the platform

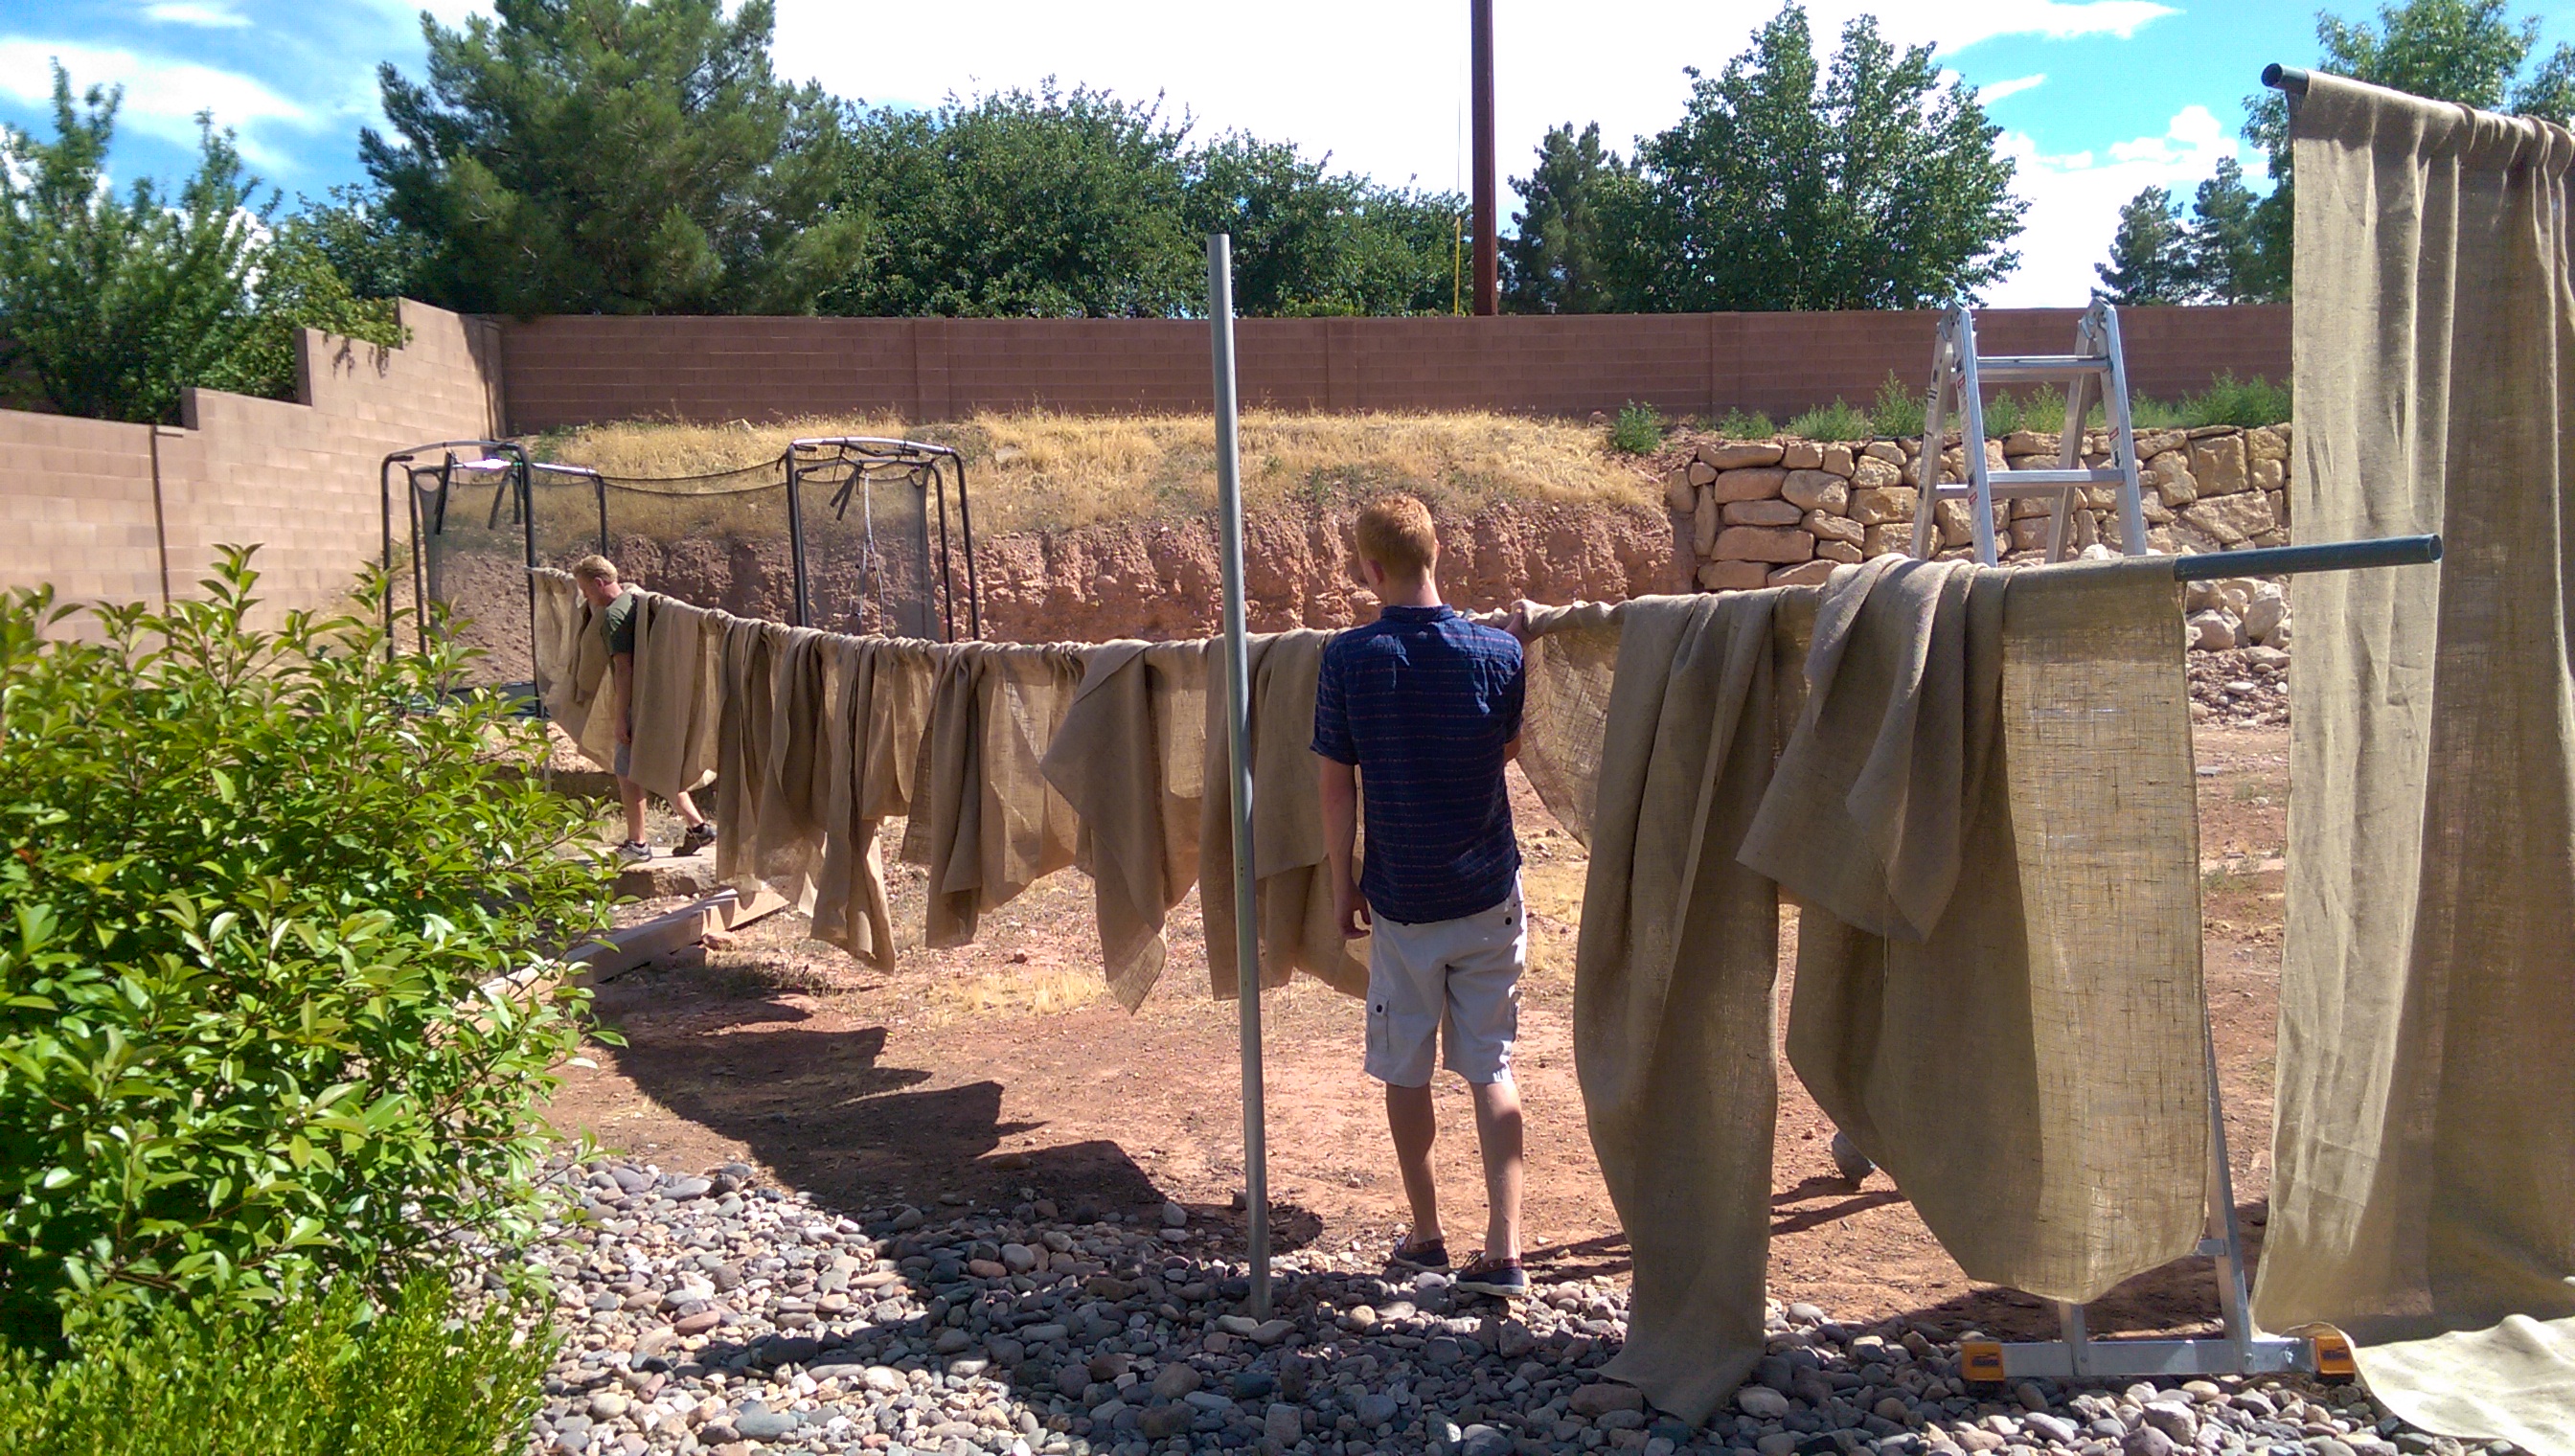
- It was finally time to put the panels onto the structure. We took the poles down and put them through the rod pockets that were sewn into the ends of the panels, making sure to put the top rail brackets where they belonged between the panels. FYI- In order to have the panels gather a bit, I measured the width of each section, and multiplied it by 1.5. That’s how I decided how many panels to use in each section. For example, a couple of the sections were 13 feet wide between posts. I multiplied 13 by 1.5, which totaled 20.5 feet. So I used 4 panels, 5 feet wide each, in those sections.

Yeah, it’s a pretty long pole. They ended up connecting two pieces with duct tape, because we needed a way to somehow use duct tape in this project.

All panels are in place, nearly done!
- Once the top rail was back up with the panels on, it was time to secure the panels. I used safety pins to connect the panels together, pinning about every 2 feet. Then we used rocks to secure the excess burlap on the back to make sure it didn’t move in the wind. (FINAL PICTURES COMING SOON!)

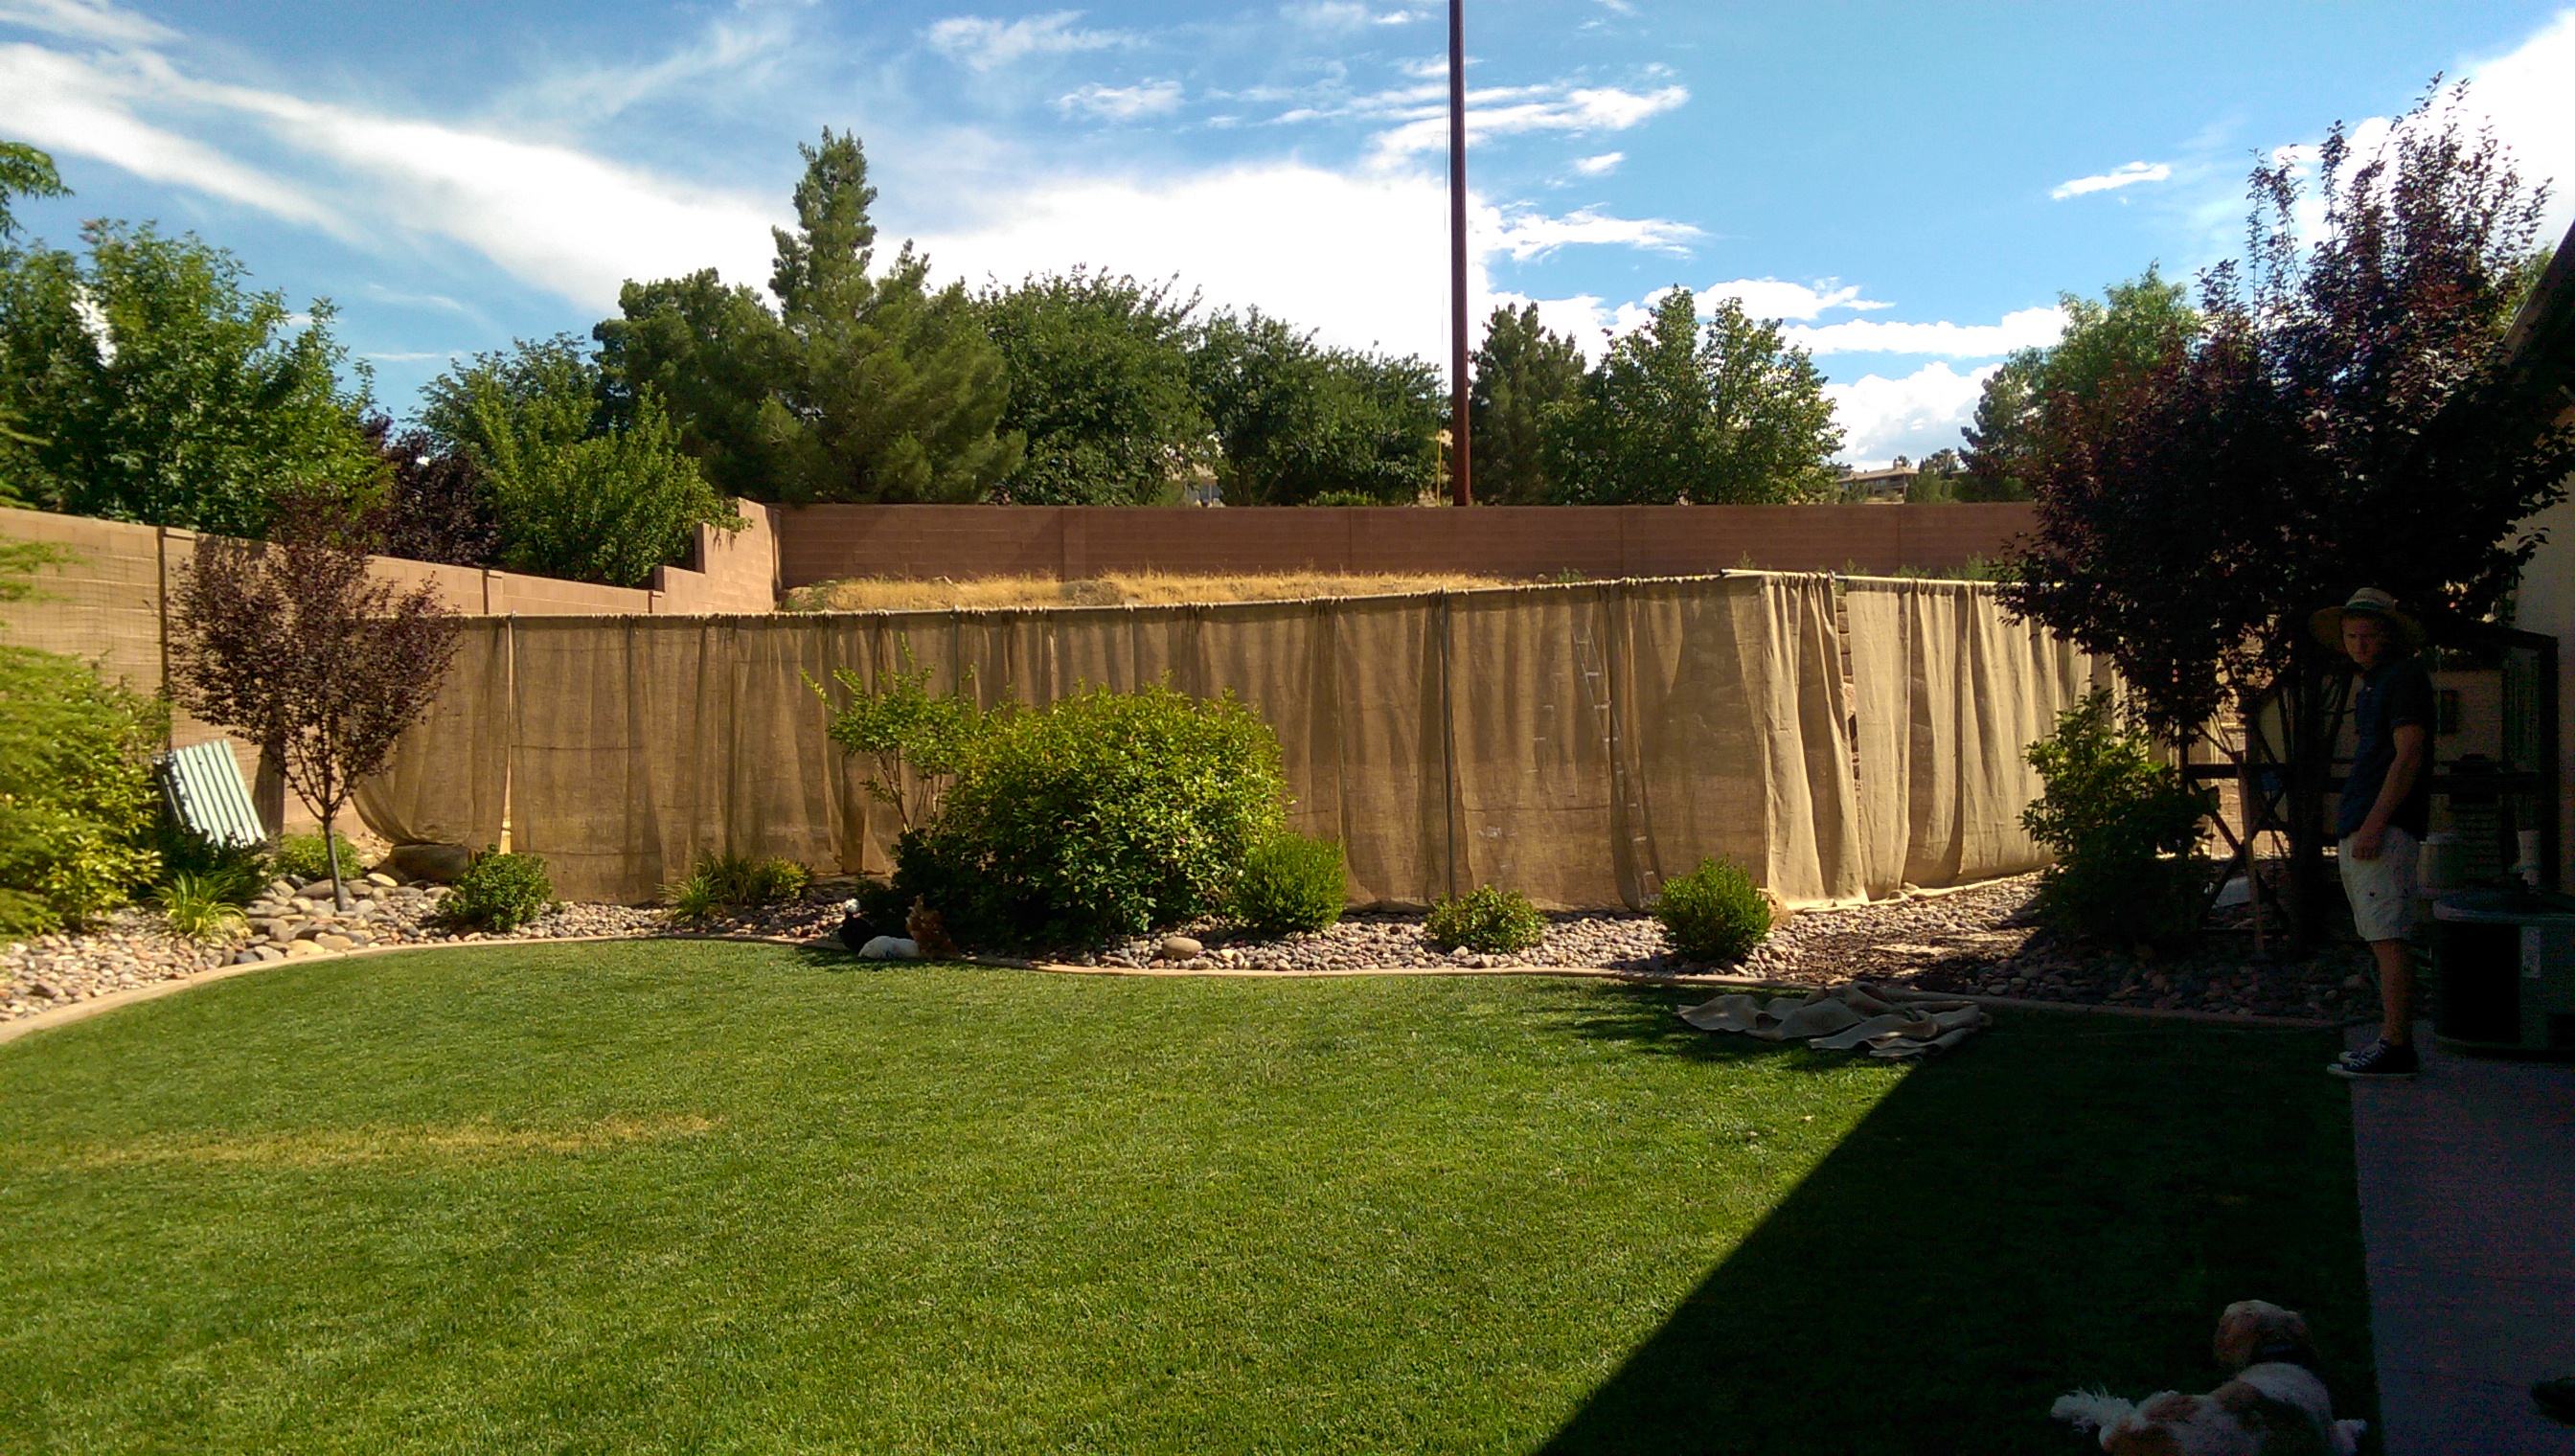
And that is how we are hiding the wasteland for the upcoming wedding reception! I’ll be sure to post photos of the big event soon.
And I didn’t bother to mention that we made sure to turn the burlap structure at the end in order to keep the luxury chicken coop in the open, visible area . . . because what’s a classy wedding reception without chickens, right?! 🙂


Tiffany! That is a brilliant idea!! I’m planning my daughters wedding too! I believe yours and ours are on the same day! July 3rd! Crazy times that’s for sure!
Hugs,
Karin Brosnan
(Liz Cummings sister in law)
LikeLike
I know, it’s crazy we’re doing this the same day! Luckily it won’t be QUITE as hot where you are. I’m sure yours will be fabulous! 😀
LikeLike
Never a dull moment in the life of Tiffany. Oh, how I have missed you! Knowing you has certainly enhanced my life! Please, PLEASE keep blogging; it’s far better reading than anything else I can access online. When giving out gifts to His children, I believe that God gave you your fair share then whispered in your ear to get back in line for more….. XOXO
LikeLike
Yeah, I ran to get back in line . . . behind YOU!! LOVE you dear friend!
LikeLike
This is a genius idea! We are going to have a graduation party in our backyard, we have some unsightly outbuildings to cover up. Thanks for sharing!
LikeLike